GoogleスプレッドシートとGoogleフォームを組み合わせてタイムカードを作成する方法PART3です。
前回のさらに続きですね!
さらに進めていきましょう!
\\動画でスキルアップ!//

GoogleフォームとGoogleスプレッドシートで便利なオンラインタイムカードの仕組みを作る
このコースは、GoogleスプレッドシートとGoogleフォームの基礎的な使用方法を学びたいと考えている初心者向けのコースです。このコースでは、以下のようなことを学びます。スプレッドシートの基本操作:セルの編集、書式設定など。スプレッドシー...
www.udemy.com
Googleフォームのデータを整形する
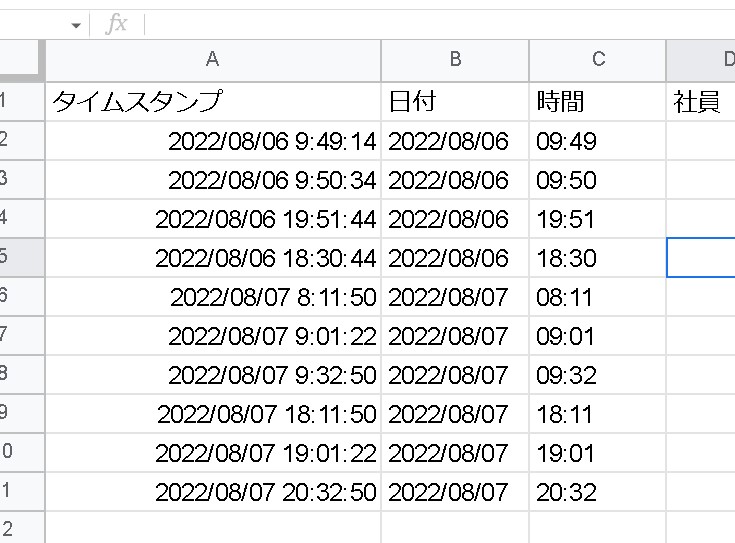
前回は、下記のような感じでGoogleフォームの回答のタイムスタンプを元にTEXT関数で日付を抽出しました。日付が出力されました!
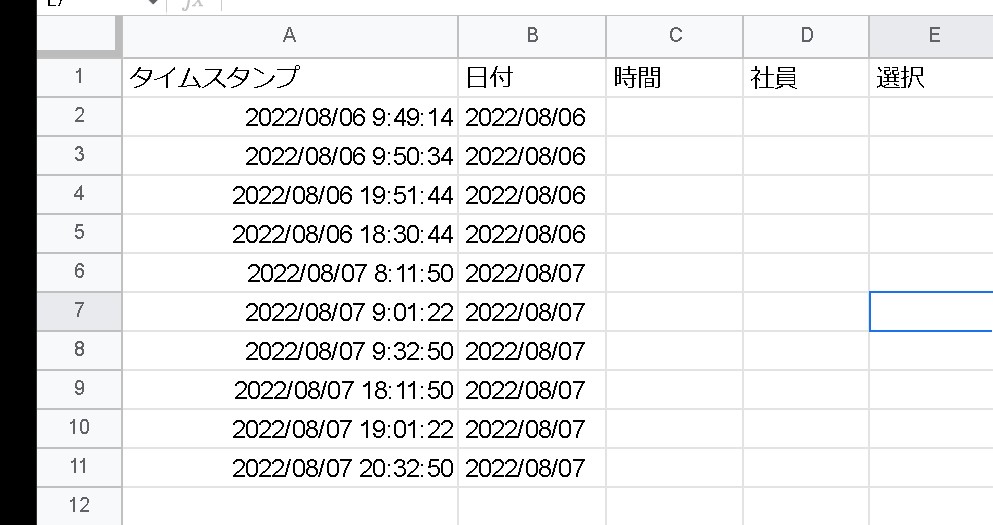
右側の列のデータも順番に抽出していきます。
時間を抽出する(TEXT関数)
次はタイムスタンプを元に、C列・時間を抽出していきます。こちらもTEXT関数を使用して抽出できます。
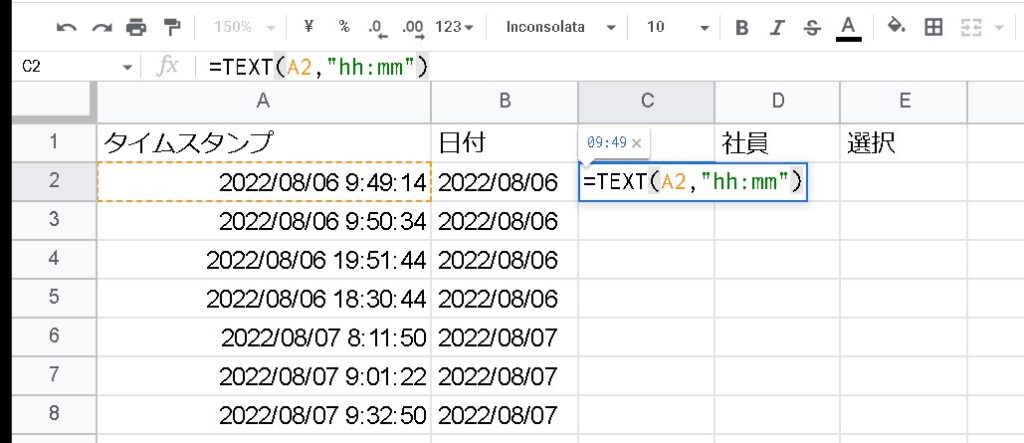
=TEXT(A2,"hh:mm")時間の部分が抽出されました。
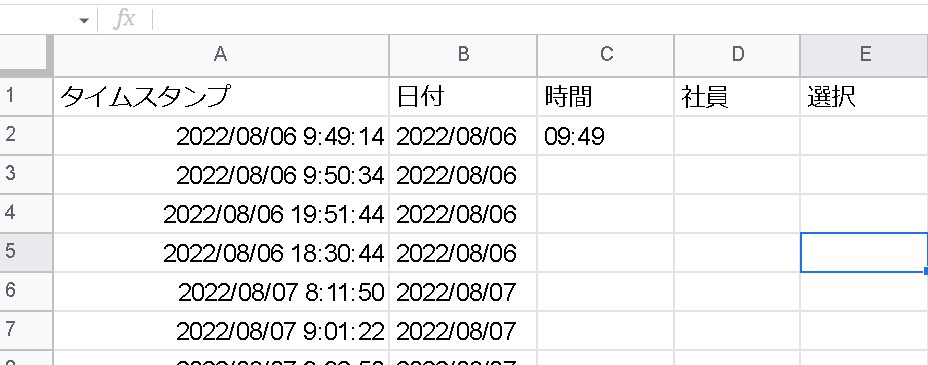
オートフィルすれば最下部までコピーされます。
社員を抽出する
次は送信データを元に、D列・社員を抽出していきます。こちらはQUERY関数を使用して抽出できます。「社員」と「選択」は、考えてみると最初のQUERY関数で抽出させたほうが早いので、列を移動させてみます。
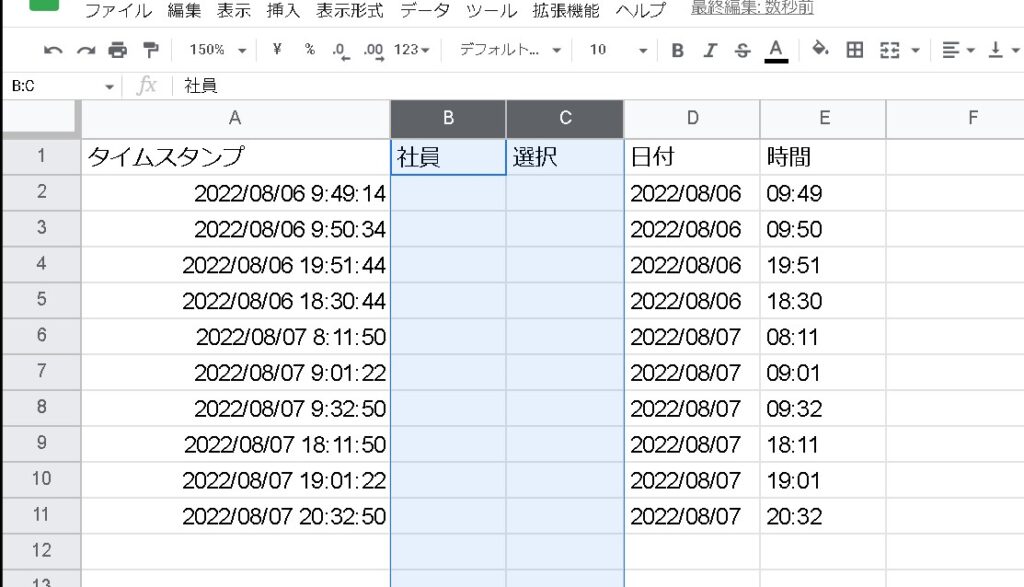
QUERYの出力範囲と列を変更してみます。
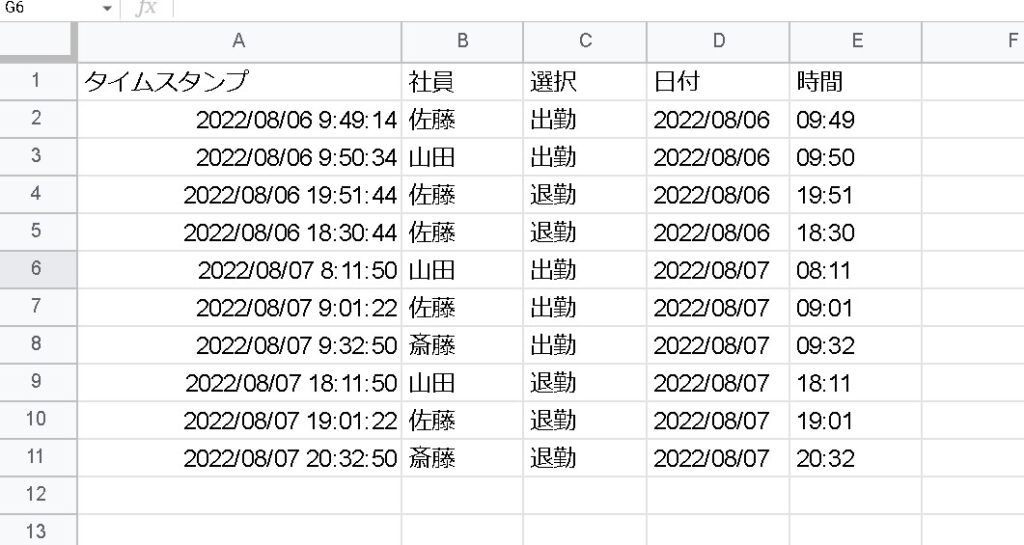
=query('フォームの回答'!A2:C,"select A,B,C")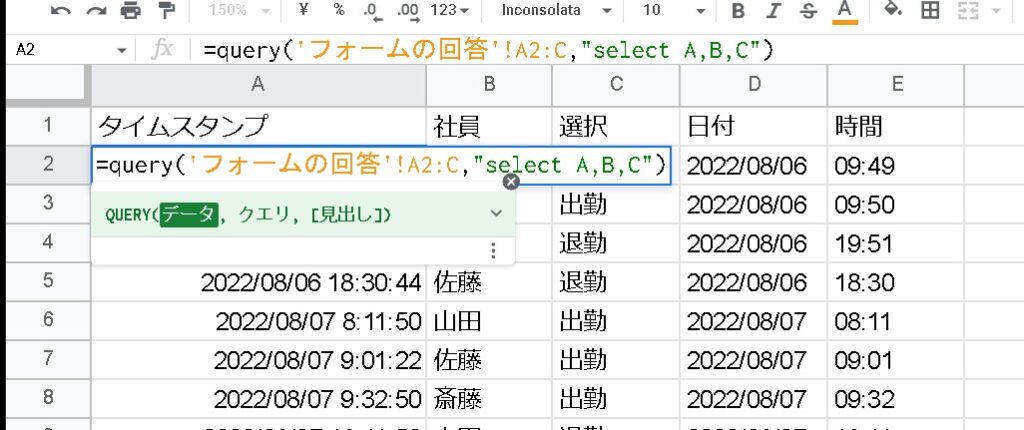
完成しました。
社員用シートを作成する
社員用のシートを作成します。例えば今回は「山田」というシートを作成しました。こちらが完成形のイメージです。
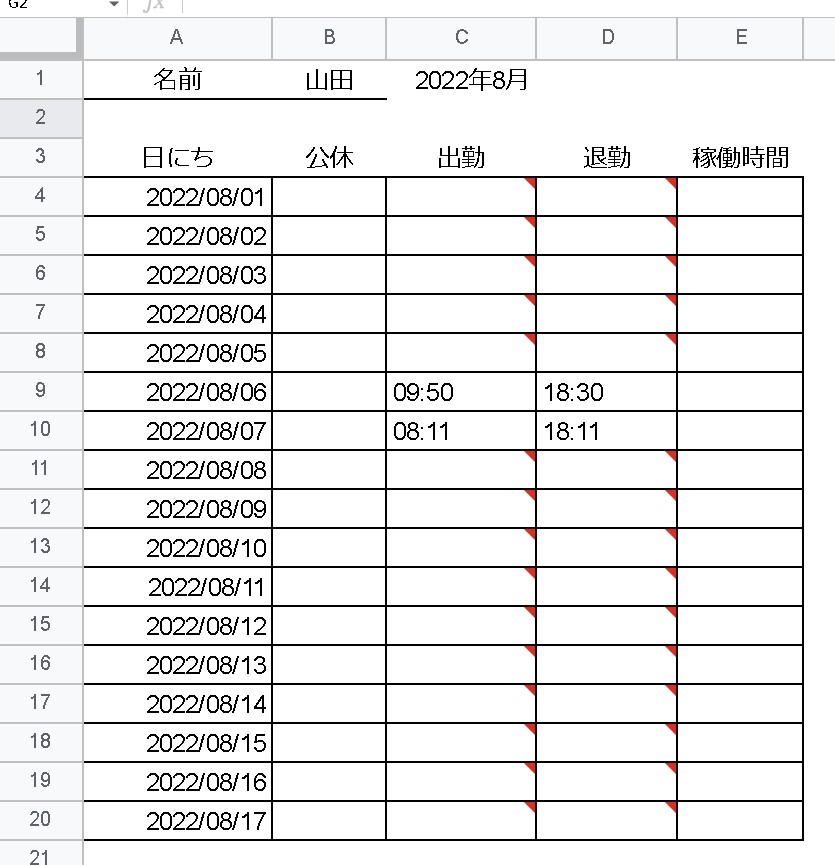
こちらを、下記のような表を作成して入力していきます。

まとめ
次回は、こちらデータを表示させていきます。
ご参考ください😃