目次
前回の続きです。Netlifyをスタートして、Githubのデータをデプロイする手順を説明します。

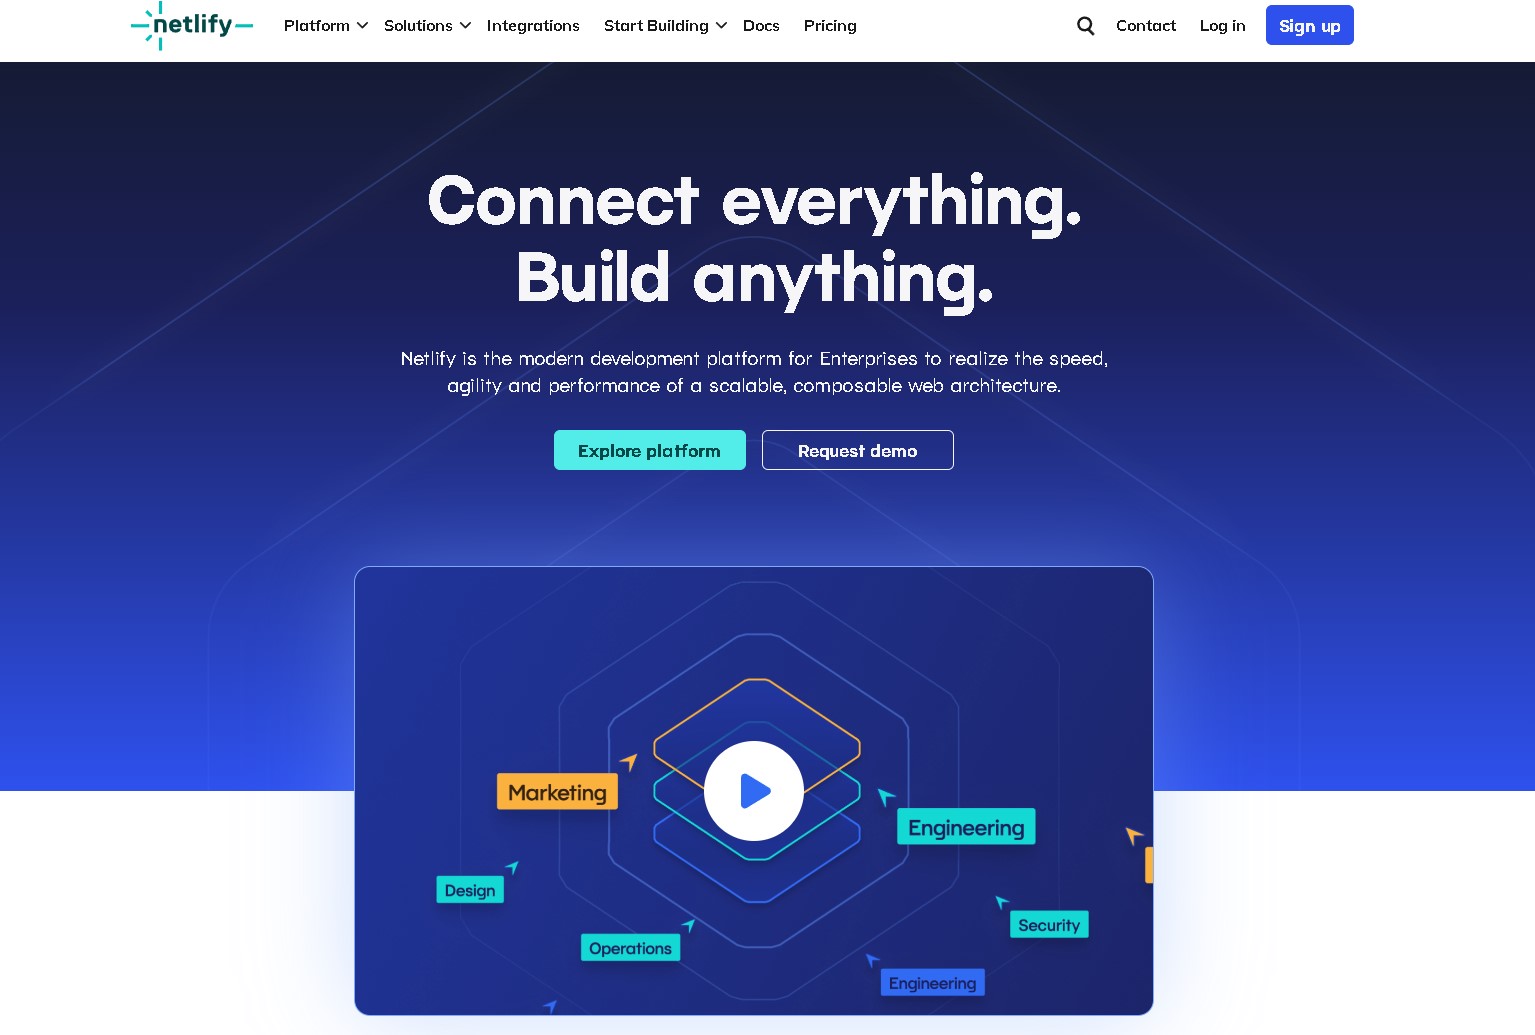
Scale & Ship Faster with a Composable Web Architecture | Netlify
Realize the speed, agility and performance of a scalable, composable web architecture with Netlify. Explore the composab...
www.netlify.com
Netlifyのアカウントを作成
まずは、Netlifyのアカウントを作成します。Netlifyの公式サイトにアクセスし、「Sign up」をクリックします。「Sign up to deploy your project」から新規作成するアカウントを選択します。。
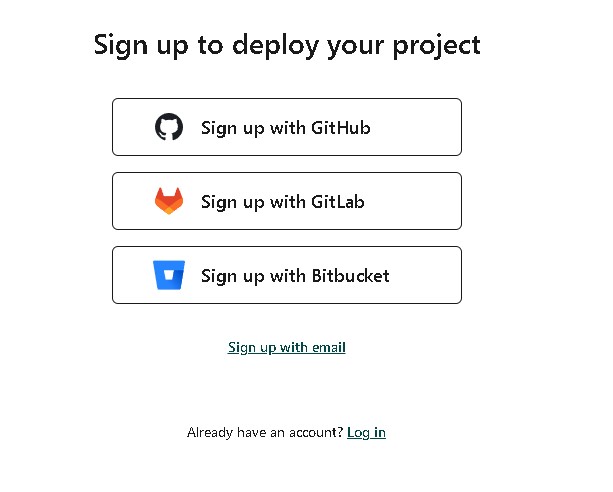
今回はGithubを使用しますのでGithubと連携しておきます。
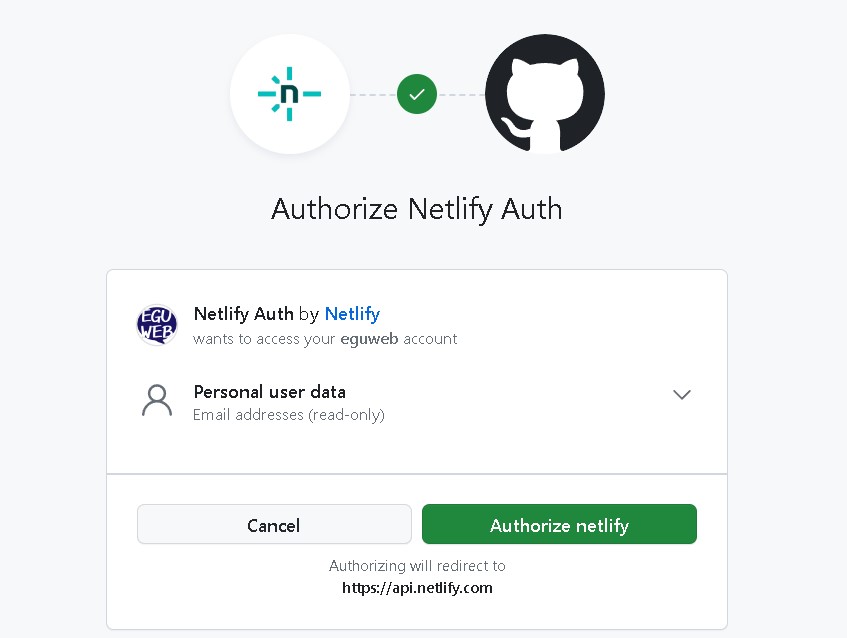
Githubのアカウントを連携する
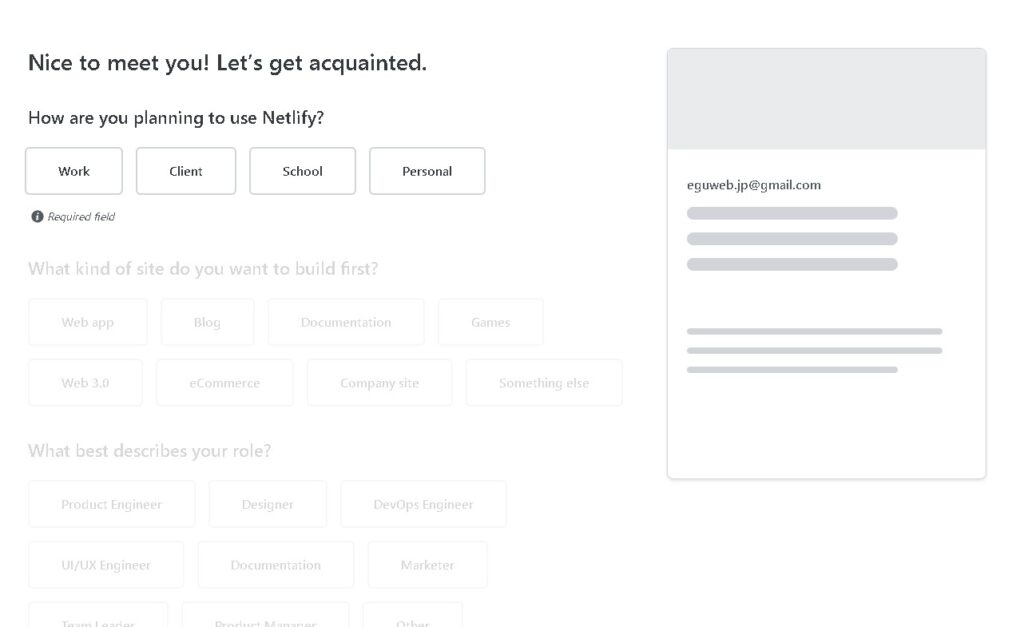
Netlifyのアカウントを作成したら、Githubのアカウントを連携します。Netlifyのダッシュボードにアクセスして初期設定を進めていきます。

「Continue to deploy」をクリックします。
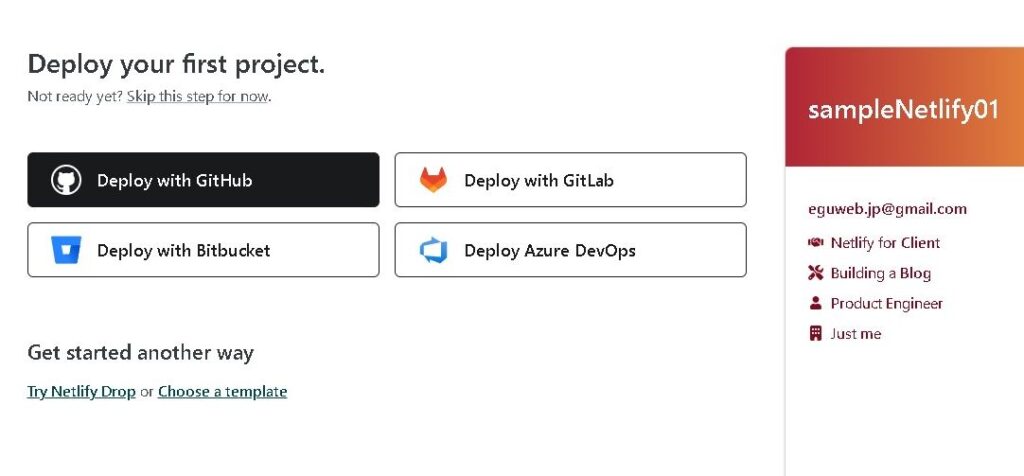
プロジェクトを作成(Deploy your first project.)
Githubのアカウントを連携したら、プロジェクトを作成します。
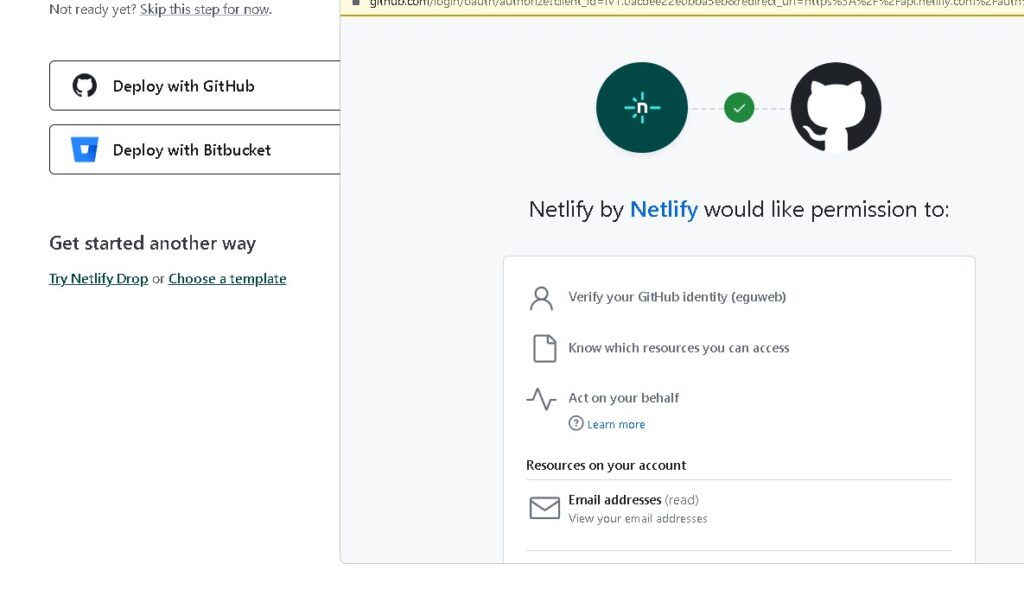
「Deploy with GitHub」を選択して、進めていきます。
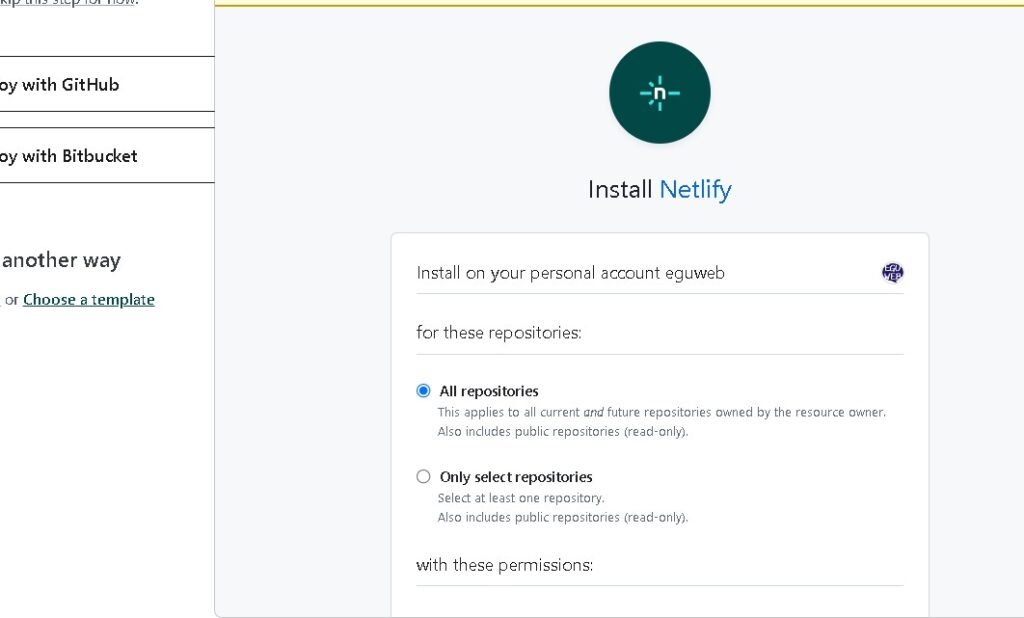
Githubとの連携になるので進めていきます。
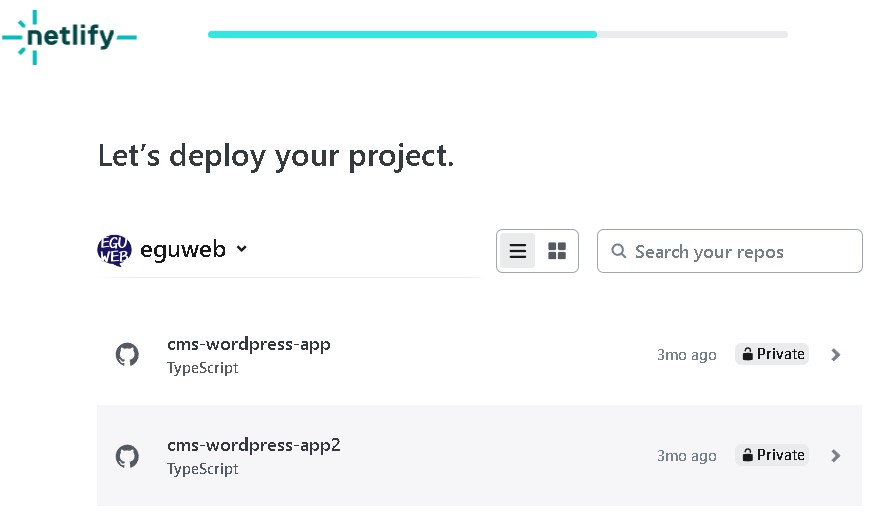
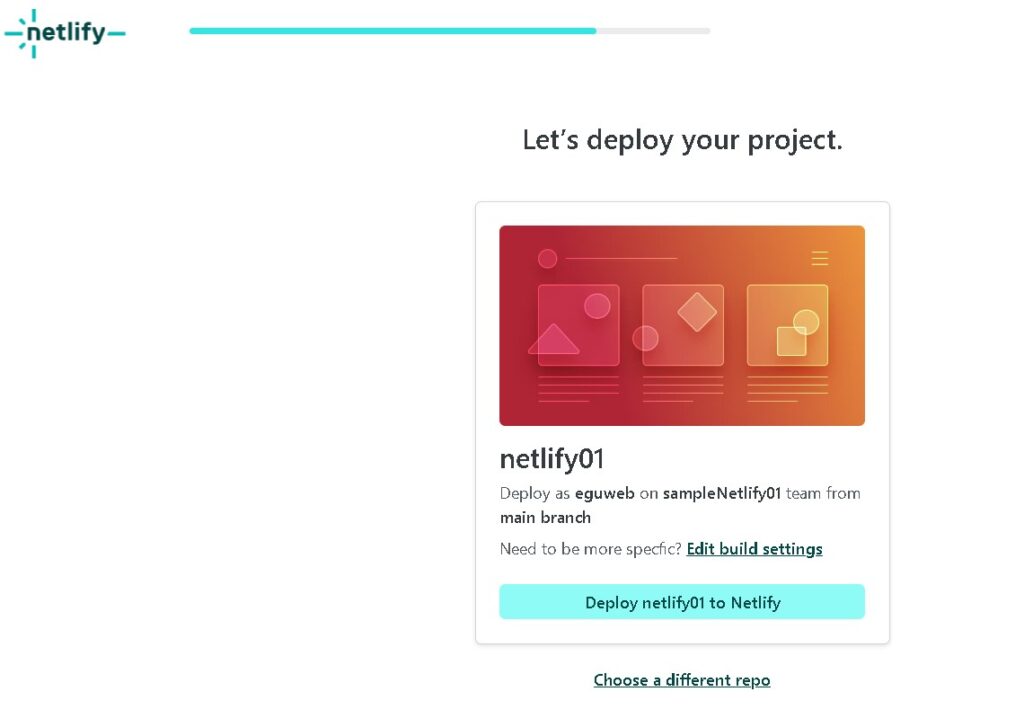
Let’s deploy your project.
Netlifyにプロジェクトを作成したいrepositoryを選択します。
「Deploy XXXXXX to Netlify」を選択すると、デプロイが始まります。
デプロイされました!
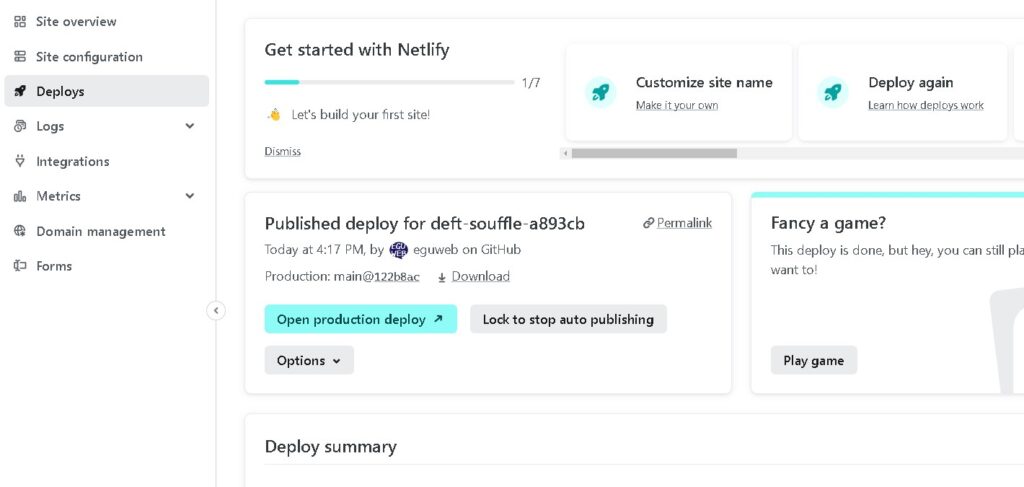
デプロイされたプロジェクトのURLをクリックします。
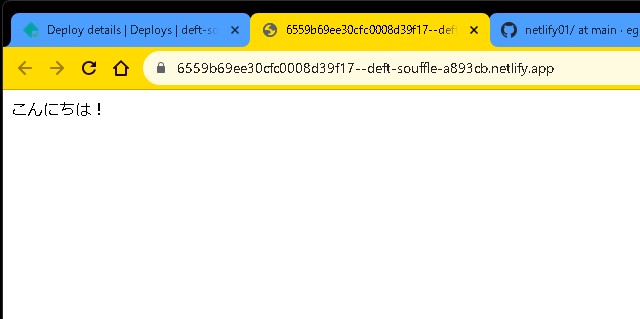
プロジェクトがデプロイされていることを確認します。
補足・まとめ
以上、Netlifyをスタートして、Githubのデータをデプロイする手順の説明は終了です。
Netlifyは、Githubと連携することで、簡単にWebサイトをデプロイすることができます。また、無料プランでも十分な機能を利用することができます。
続きは、また。
Scale & Ship Faster with a Composable Web Architecture | Netlify
Realize the speed, agility and performance of a scalable, composable web architecture with Netlify. Explore the composab...
www.netlify.com