目次
VercelとNotionを連動させる手順は以下の通りです。この手順は、Next.js Notion Starter Kitを使用している場合の手順です。※VercelとNotionのアカウントを持っていることが前提です。
Next.js Notion Starter Kitのセットアップ

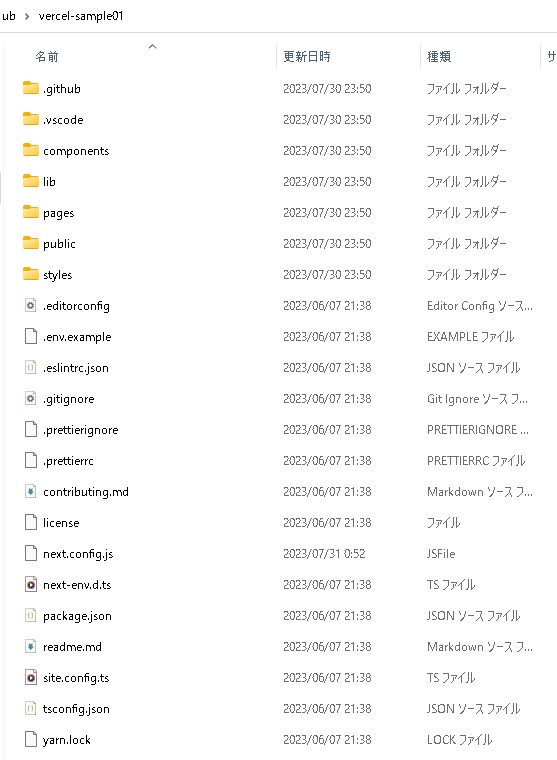
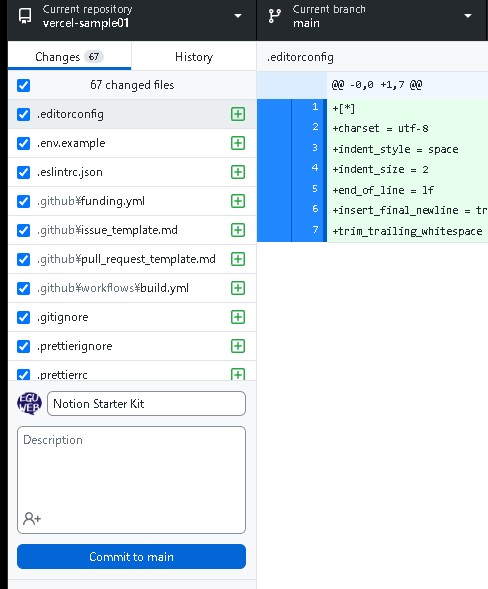
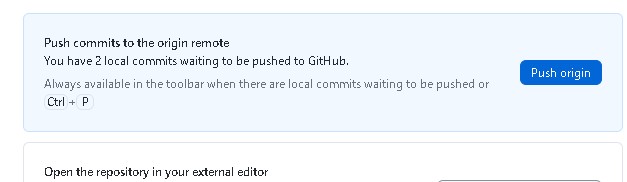
- Next.js Notion Starter Kitのリポジトリをクローンします。またはGithubにフォークするか、コードをダウンロードして、ローカルのGithub上にコピーしてCommit、Pushします。
プロジェクトの新規作成
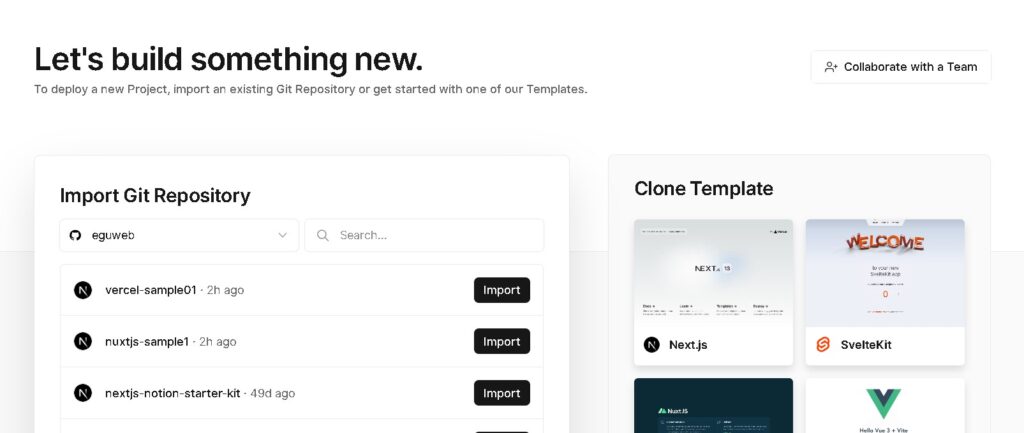
Projectの新規作成をします。
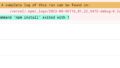
New>「Project」をクリックし、リポジトリをインポートします。Push OriginしたNext.js Notion Starter Kitのリポジトリを選択します。
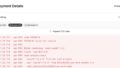
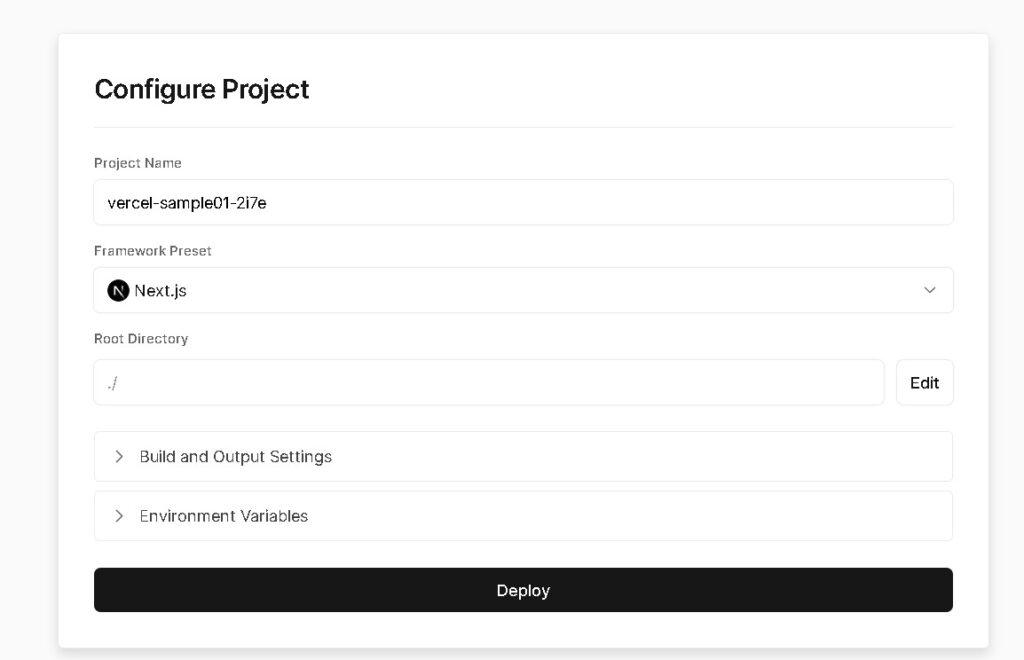
Deployします。
サイトが公開されました!
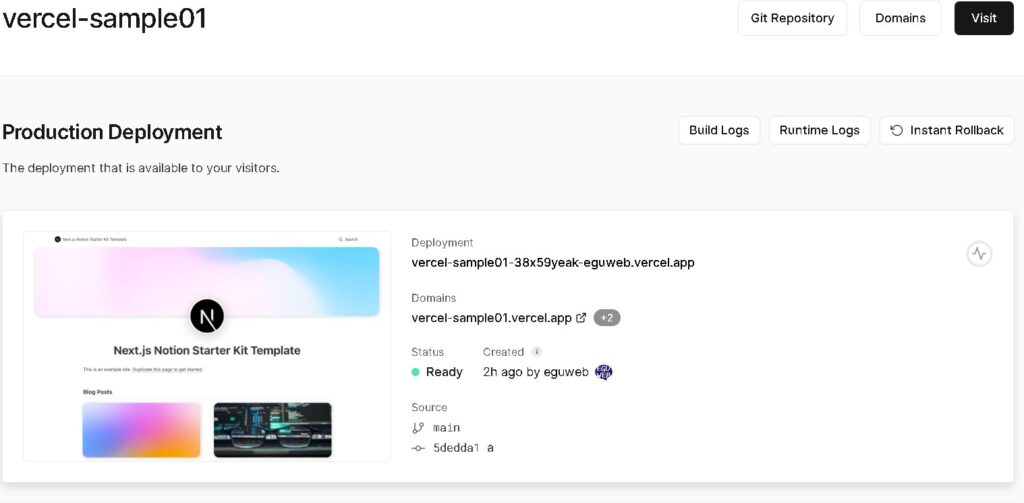
この時点では、まだテンプレートのサイトが公開された状態になっているので、Notionと連携させます。
Notionの設定
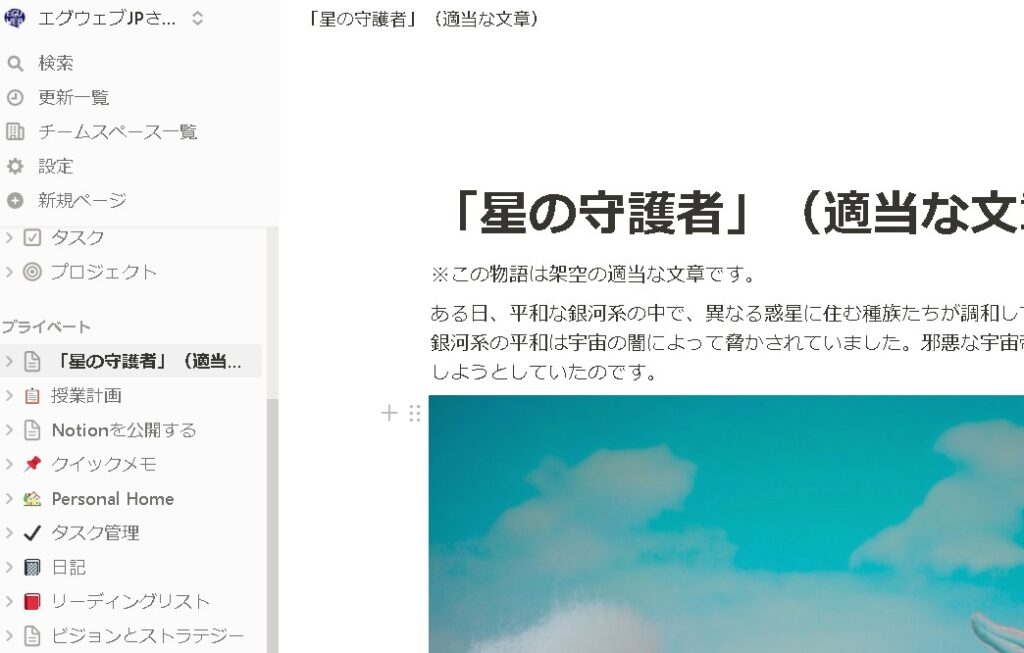
- Notionにログインし、新しいページを作成します。このページは、Next.jsアプリケーションに表示するコンテンツを含むページになります。
- ページ内にテキスト、画像、リンク、テーブルなどのブロックを追加します。これらのブロックがNext.jsアプリケーションに表示されます。
- Webページとして公開します。
Webページが公開されました。
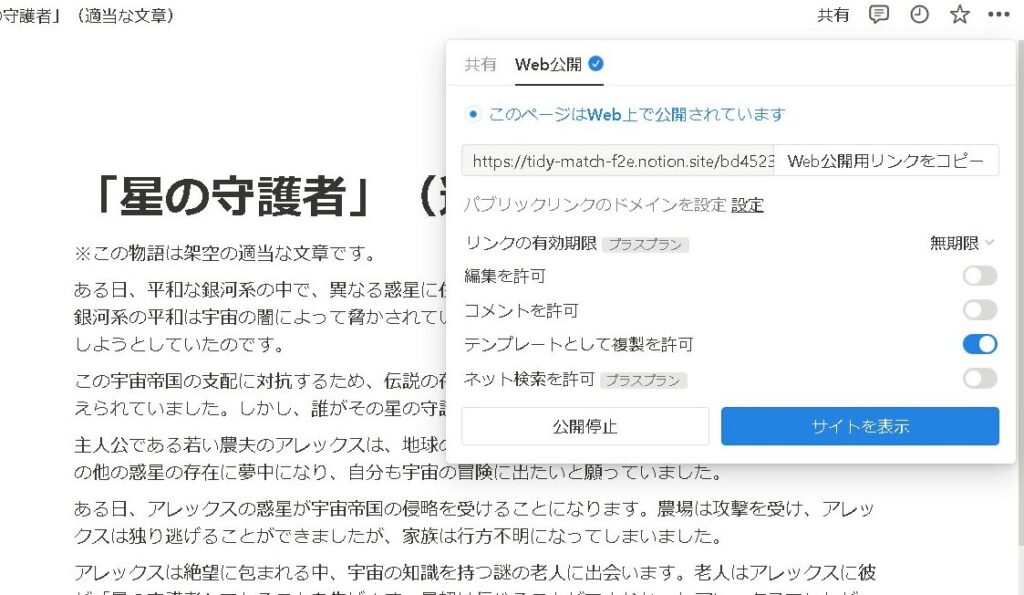
公開ページURL:
https://tidy-match-f2e.notion.site/bd4523a79a0a46ad83780259aa873df2?pvs=4「bd4523a79a0a46ad83780259aa873df2」の部分がページIDとなります。
こちらをコピーして控えます。
Vercelとの連携
Next.js Notion Starter Kitのりリポジトリ上に「site.config.ts」という名称のファイルがあります。
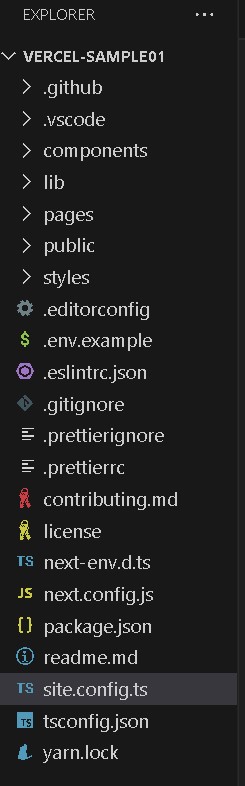
この中にrootNotionPageIdという場所があるので、こちらに先ほどコピーしたNotionのPageIdを設定します。
[rml_read_more]
import { siteConfig } from './lib/site-config'

export default siteConfig({
  // the site's root Notion page (required)
  rootNotionPageId: 'your-pageIdXXXXXXXXXXXX',

  // if you want to restrict pages to a single notion workspace (optional)
  // (this should be a Notion ID; see the docs for how to extract this)
  rootNotionSpaceId: null,
あとは、Pushしてデプロイを待つと、NotionのページがVercelに公開された状態になります。
NotionのページがVercel上に公開されて自動連携できました!

まとめ
これで、Vercel上にデプロイされたNext.jsアプリケーションがNotionのデータにアクセスできるようになります。Notionのページを編集すると、Next.jsアプリケーションに反映されます。
ただし、Notion APIの機能や仕様が変更されている可能性もあるので、公式ドキュメントなどで最新の情報を確認してください。また、セキュリティ上の理由から、Notionのトークンなどの重要な情報を公開されないようにしてください。