WEBサイトを開いたときにローディングアニメーションを表示させる方法です。前回はjQueryで作成してみましたが、今回はCSSのみで実装してみます。
サンプルページはこちら
https://css.eguweb.tech/p077/
とりあえずHTML部分
ということで、前回同様にHTML部分を実装します。
<div class="loading">
  <div class="loading-icon">
    <img src="/wp-content/uploads/wifi.png" alt="">
  </div>
</div>
画像(アイコン)が表示されました。
CSS部分を作る
CSS部分はこのように実装してみます。
        .loading {
            background: #1B1464;
            position: fixed;
            top: 0;
            left: 0;
            height: 100%;
            width: 100%;
            z-index: 9999;
            display: flex;
            align-items: center;
            justify-content: center;
        }

        .loading-icon {
            z-index: 9999;
        }
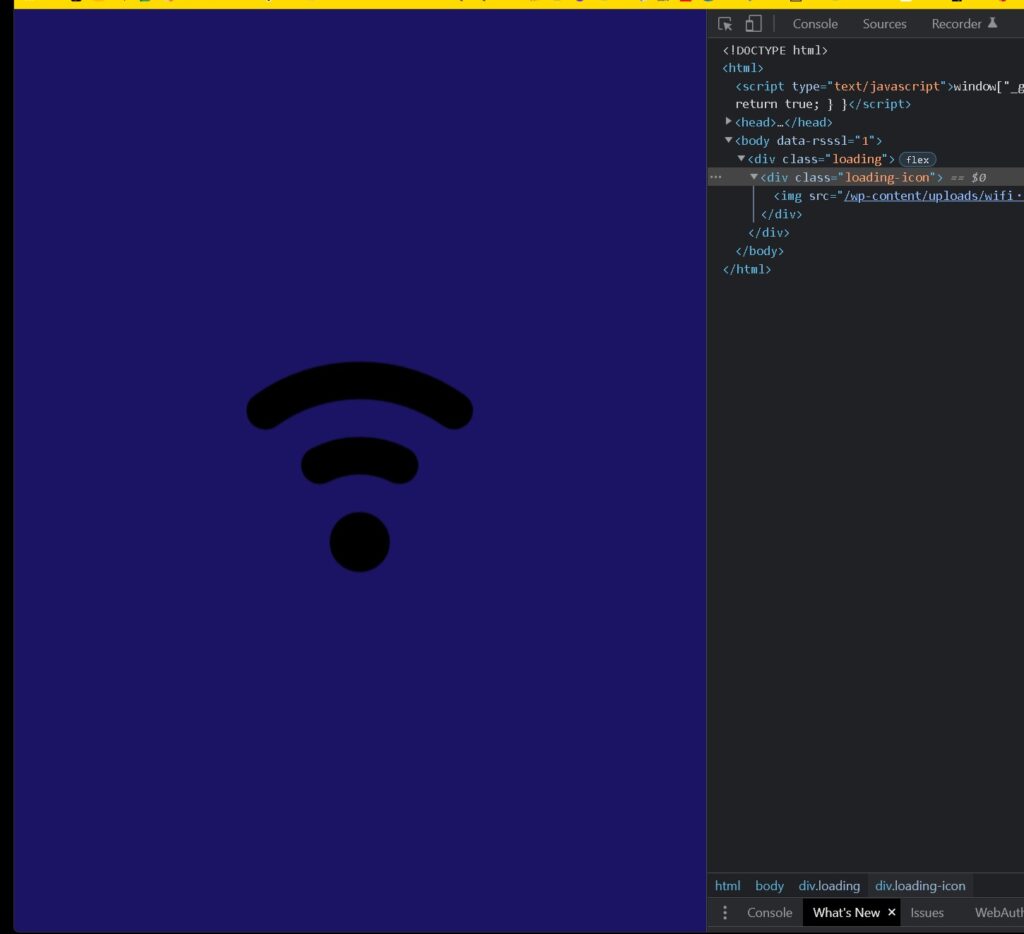
青色背景の中央に画像(アイコン)が配置されました。
アイコンを表示させるアニメーション
「画面にアイコン非表示→表示する」のアニメーションを作ってみます。
.loading {
	background: #1B1464;
	position: fixed;
	top: 0;
	left: 0;
	height: 100%;
	width: 100%;
	z-index: 9999;
	display: flex;
	align-items: center;
	justify-content: center;
}
.loading-icon {
	z-index: 9999;
	opacity:0;
	animation: animationZoom 1.0s forwards;
}
@keyframes animationZoom {
40% {
	transform: scale(1);
	opacity:1;
	}
50% {
	transform: scale(0.6);
	}
100% {
	transform: scale(30);
	opacity:0;
	}
}
画像がアニメーションしました!

背景色を消す
さらに、背景の色を消す処理を入れています。
.loading {
	background: #1B1464;
	position: fixed;
	top: 0;
	left: 0;
	height: 100%;
	width: 100%;
	z-index: 9999;
	animation: animationZoom2 2.0s forwards;
        display: flex;
        align-items: center;
        justify-content: center;
}
.loading-icon {
	z-index: 9999;
	opacity:0;
	animation: animationZoom 1.0s forwards;
}
@keyframes animationZoom {
0% {opacity:1;}
10% {transform: scale(1);}
30% {transform: scale(0.6);}
100% {
	transform: scale(30);
	opacity:0;
	}
}
@keyframes animationZoom2 {
0% { }
100% {opacity:0;}
}
これで、背景の青色画像も画面から消えます!コンテナもアイコンも同じ時間にすると同時に消えてしまうため、コンテナ部分の背景色はずらして2秒にしています。
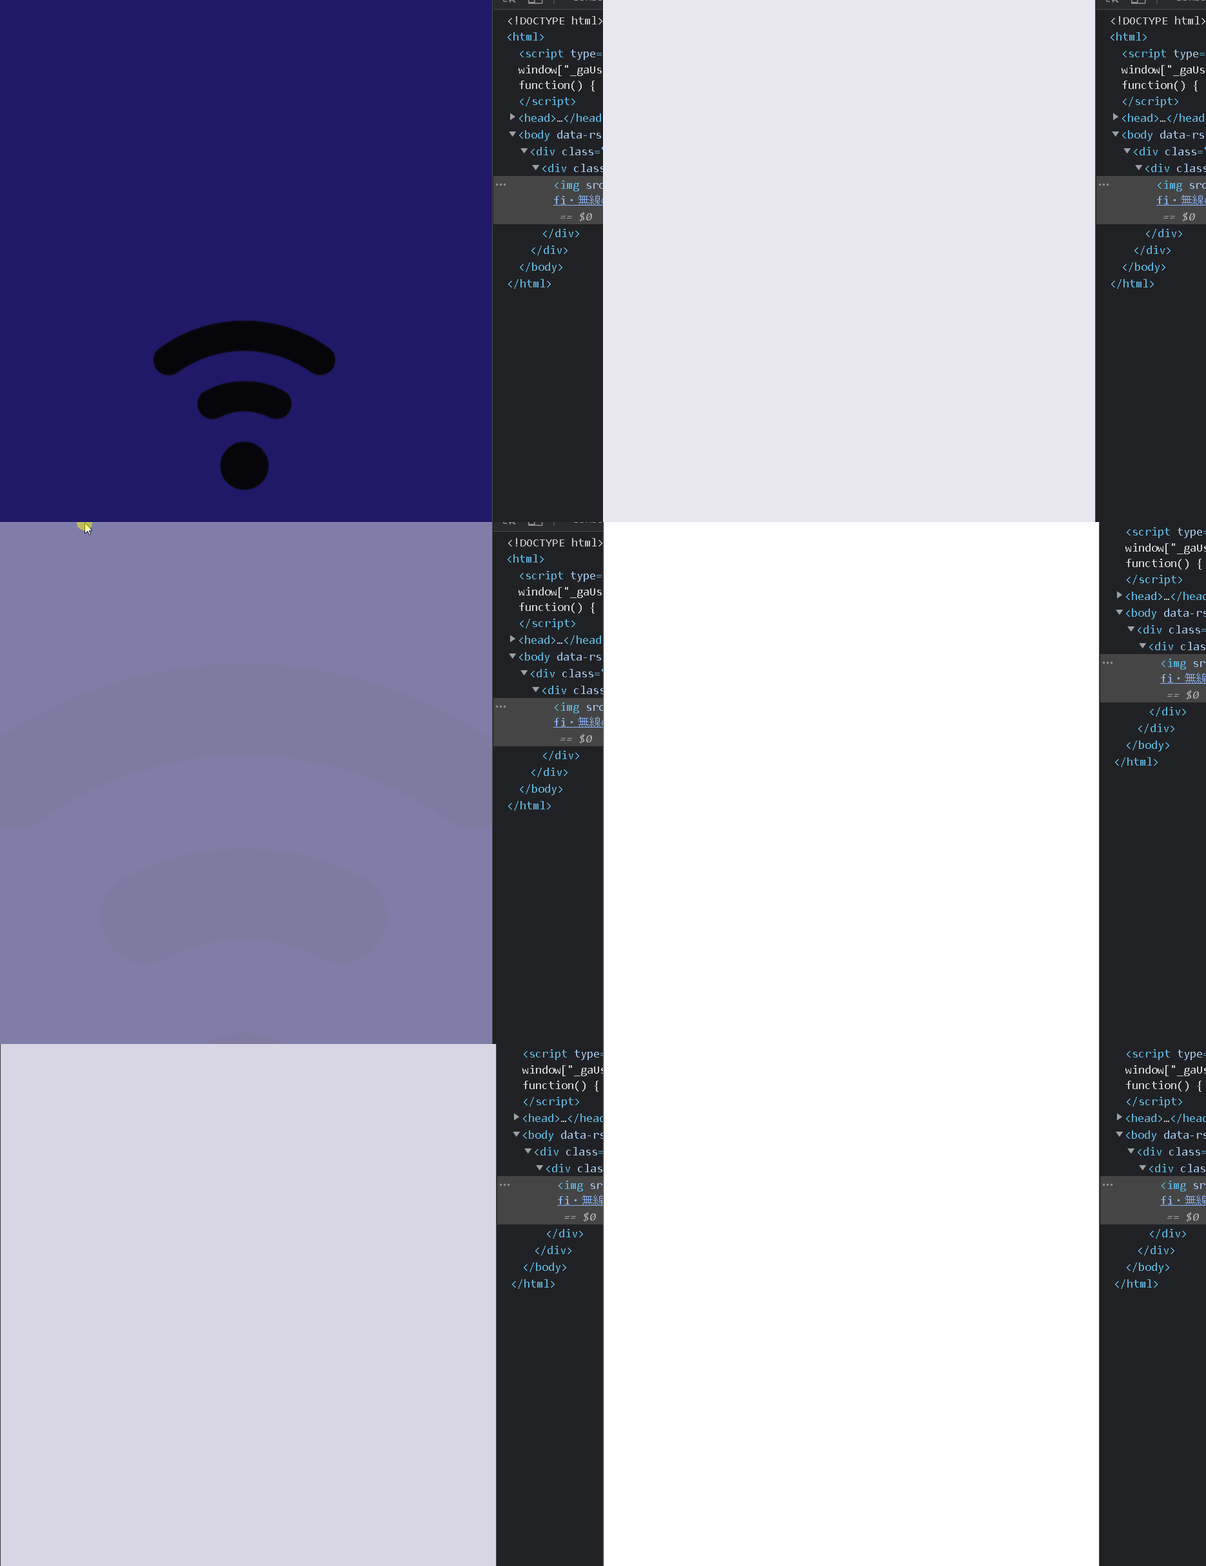
ほぼ出来た感じに見えます…!!
画像の扱いに注意
画面上には見えないですが、画像が操作できるような状態になっています。
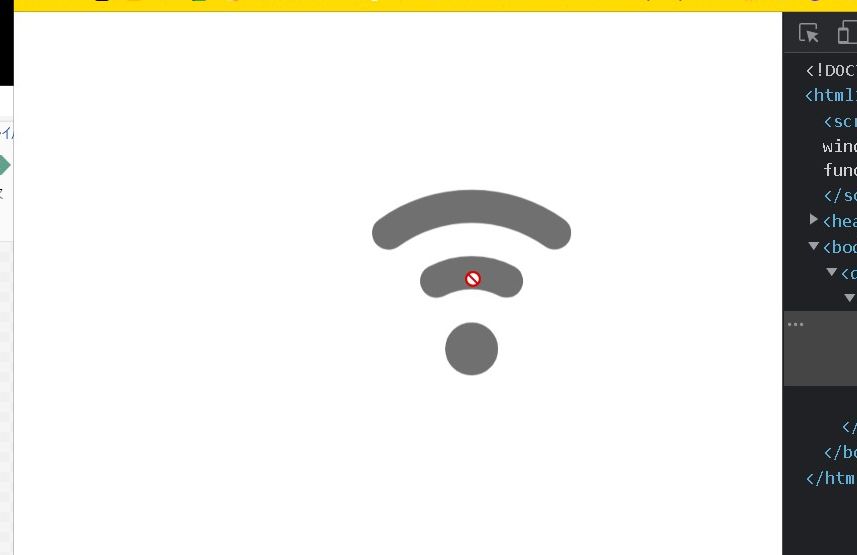
クリックできるとまずい場合もあるかもしれませんので、ひと工夫をしておきます。
ここは「pointer-events: none;」を使って、クリックイベントを無効にしてみます。
pointer-events: none;そうすると、画面に配置されている画像が選択できないような状態になっています!クリックして画像を選択できないようになっています。
まとめ
このような感じで、CSS のみでローディングアニメーションも作れそうな感じです!※1歩間違えると、画面いっぱいに白の四角形が残ってしまい、何も操作できなくなるので作成にはかなり注意が必要です。
https://css.eguweb.tech/p077/
ご参考ください😃


