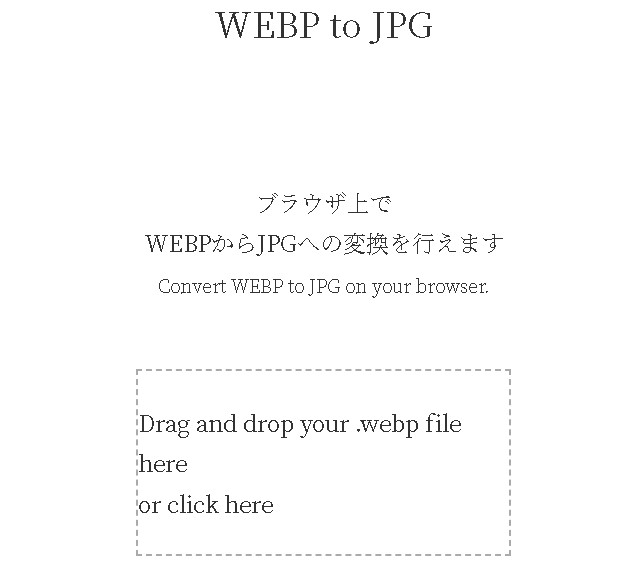
HTMLとJavaScriptを使用して、WEBP画像を読み込みJPGに変換してダウンロードする、ブラウザ上でWEBPからJPGへの変換を行うツールを作ります。
サンプルページはこちら

WEBP to JPG
オンライン上でWEBP画像をJPGに変換するWEBPコンバーター
htmlコード
<!DOCTYPE html>
<html lang="en">
<head>
    <meta charset="UTF-8">
    <meta http-equiv="X-UA-Compatible" content="IE=edge">
    <meta name="viewport" content="width=device-width, initial-scale=1.0">
    <title>WEBP to JPG Converter</title>
</head>
<body>
    <h1>WEBP to JPG Converter</h1>
    <div id="dropZone">Drag and drop your .webp file here</div>
    <input type="file" id="fileInput" accept=".webp" />
    <button onclick="convertToJPG()">Convert to JPG</button>
    <a id="downloadLink">Download JPG</a>

</body>
</html>

CSS
CSSを使って中央揃えにします。以下のようにstyleタグを追加して、必要なスタイリングを適用します。
        body {
            text-align: center;
            display: flex;
            flex-direction: column;
            align-items: center;
            justify-content: center;
            min-height: 100vh;
            margin: 0;
        }
        #dropZone {
            width: 300px;
            height: 150px;
            border: 2px dashed #aaa;
            display: flex;
            align-items: center;
            justify-content: center;
            margin: 20px;
            cursor: pointer;
        }
        #fileInput, button, #downloadLink {
            display: none;
        }
環境に合わせて適時調整ください。
convertToJPG
このコードは、WEBP画像を読み込み、<canvas>要素を使用してJPGに変換します。変換後のJPG画像は、ダウンロードリンクを介してユーザーに提供されます。
       function convertToJPG() {
            const fileInput = document.getElementById('fileInput');
            const file = fileInput.files[0];

            if (file && file.type === 'image/webp') {
                const reader = new FileReader();
                reader.onload = function(e) {
                    const image = new Image();
                    image.src = e.target.result;
                    image.onload = function() {
                        const canvas = document.createElement('canvas');
                        canvas.width = this.width;
                        canvas.height = this.height;
                        const ctx = canvas.getContext('2d');
                        ctx.drawImage(this, 0, 0);
                        const jpgURL = canvas.toDataURL('image/jpeg');
                        const downloadLink = document.getElementById('downloadLink');
                        downloadLink.href = jpgURL;
                        downloadLink.download = 'converted.jpg';
                        downloadLink.style.display = 'block';
                    };
                };
                reader.readAsDataURL(file);
            } else {
                alert('Please select a WEBP image file.');
            }
        }
保存されるファイル名はdownloadLink.downloadの部分の「converted.jpg」となります。
[rml_read_more]
ドラッグアンドドロップで画像を読み込む
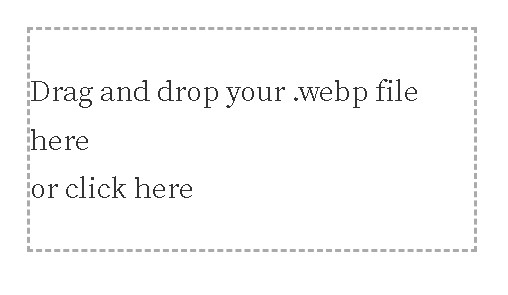
ドラッグアンドドロップでファイルを追加できる領域を作ることも可能です。領域をクリックした際にファイル選択ダイアログを表示させてみます。

        const dropZone = document.getElementById('dropZone');
        const fileInput = document.getElementById('fileInput');
        const convertButton = document.querySelector('button');

        dropZone.addEventListener('click', function() {
            fileInput.click(); // ファイルインプット要素のクリックイベントを発火
        });

        fileInput.addEventListener('change', function() {
            if (fileInput.files.length > 0 && fileInput.files[0].type === 'image/webp') {
                convertButton.style.display = 'block';
            } else {
                alert('Please select a .webp file.');
            }
});このコードは、ドラッグアンドドロップを受け入れる領域#dropZoneを作成し、その中にファイルをドラッグすると、そのファイルがWEBP形式であれば変換ボタンを表示します。
変換ボタンは、前の例で使用したconvertToJPG関数をそのまま利用します。
まとめ
ユーザーが#dropZoneをクリックすると、ファイル選択ダイアログが表示されるようになります。選択されたファイルがWEBP形式であれば変換ボタンが表示されます。

WEBP to JPG
オンライン上でWEBP画像をJPGに変換するWEBPコンバーター


