Androidアプリ作成を始めてみましたが、layout(レイアウト)作成が思ったようにいかず難しかったので、備忘録的に書き留めてみたいと思います。
Empty Activity
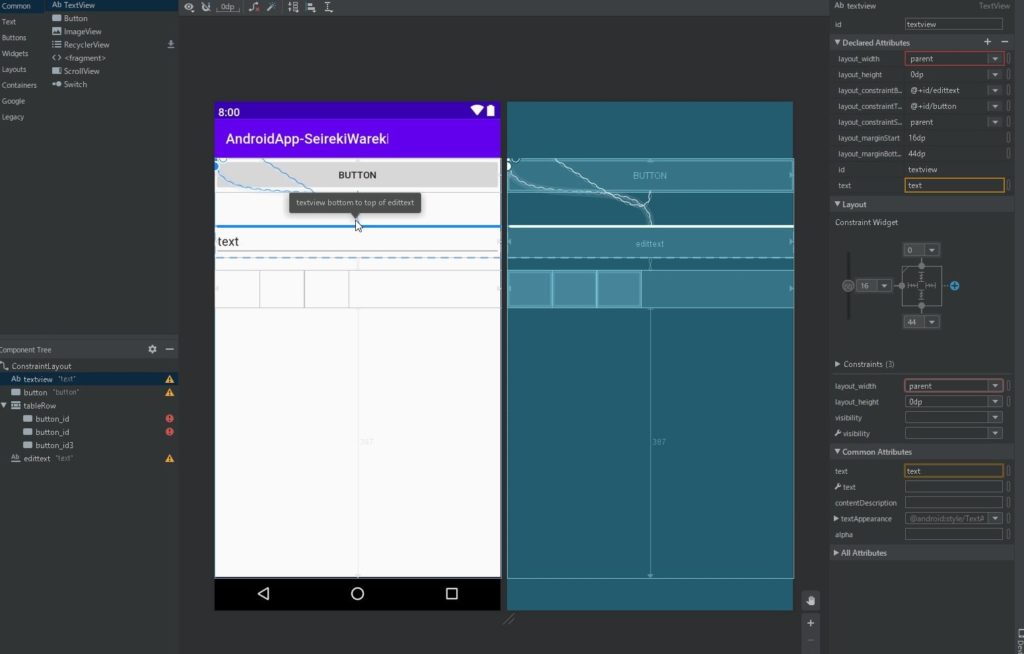
まずはプロジェクトの新規作成から、プロジェクト作成時に「Empty Activity」を選択すると、何も入っていない空のレイアウトが作られます。
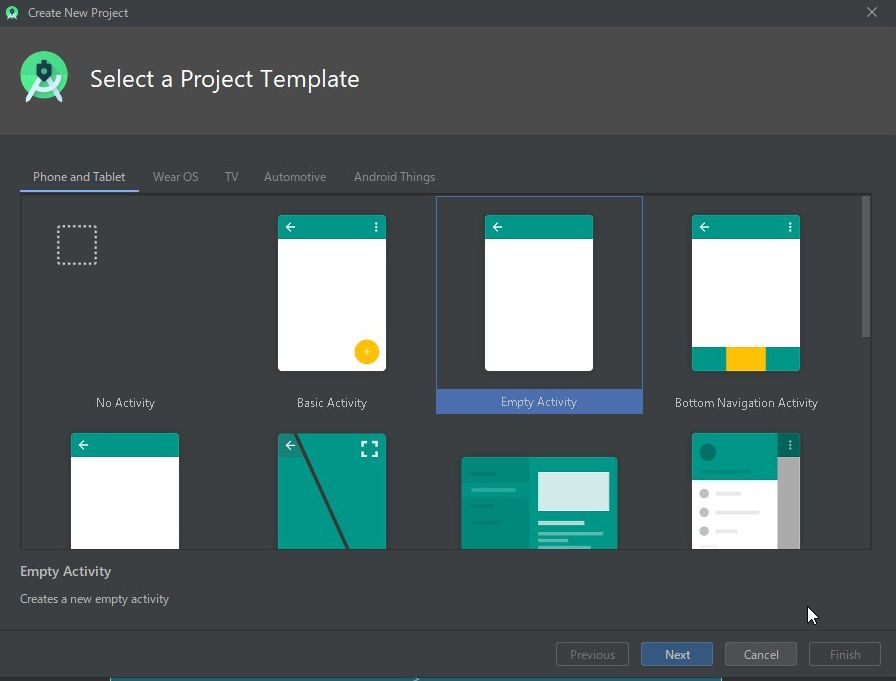
レイアウトにテキストもボタンも何も無い状態です。
layoutの読み込み方法
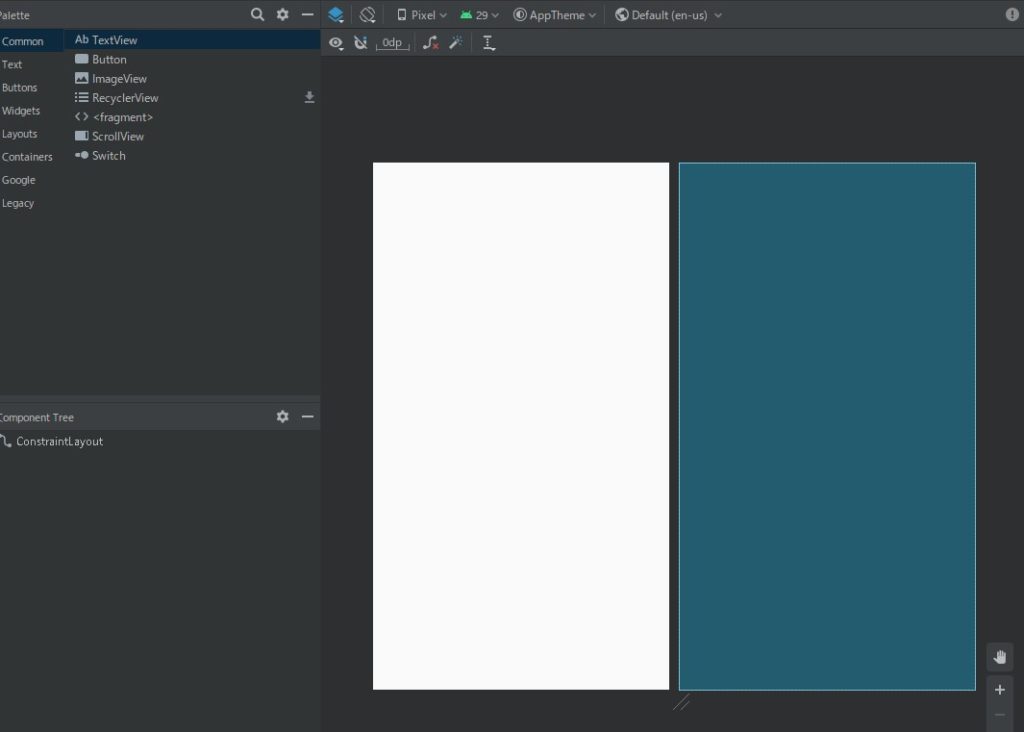
Android プロジェクトの res/layout/ ディレクトリ内の .xml 拡張子から読み込みます。プロジェクト作成時には「activity_main.xml」が準備されています。
XMLを読み込む方法
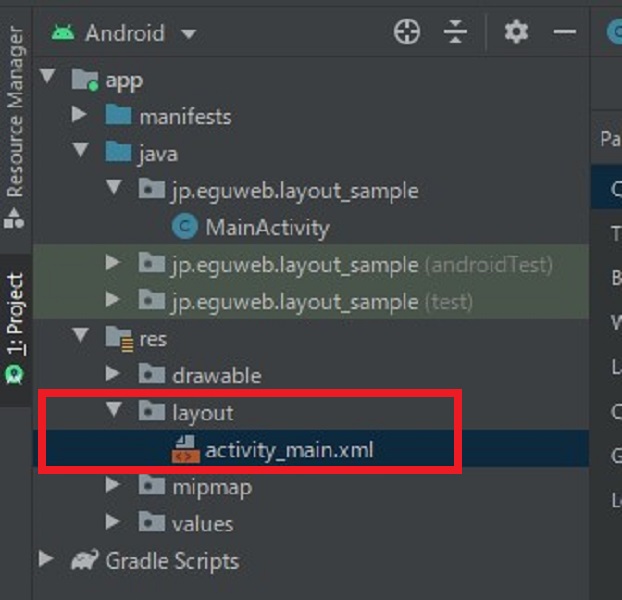
setContentView() を呼び出し、R.layout.layout_file_name の形式でレイアウトリソースへの参照を渡します。
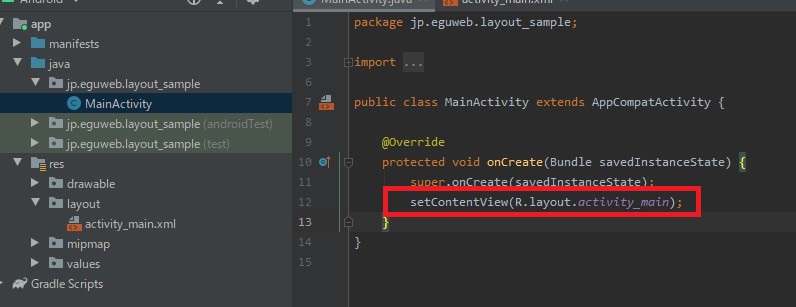
プロジェクト作成時は下記のようになっており、何も手を付けずに実行した場合、activity_main.xmlを読み込むように設定されています。
@Override
protected void onCreate(Bundle savedInstanceState) {
super.onCreate(savedInstanceState);
setContentView(R.layout.activity_main);
}
ConstraintLayout
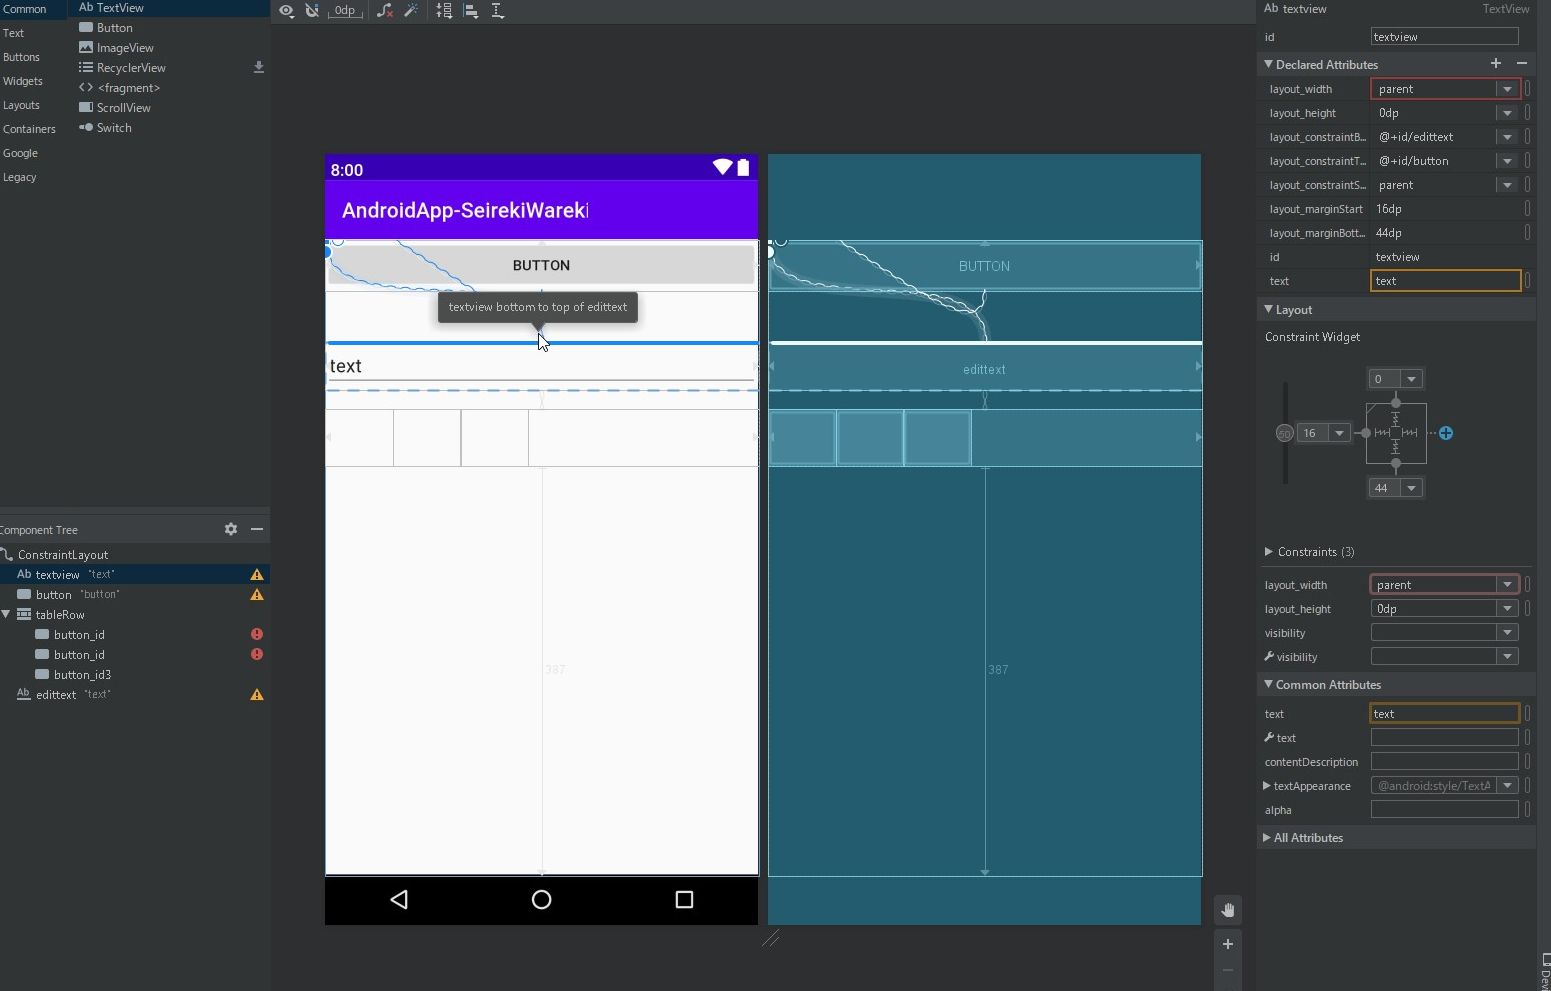
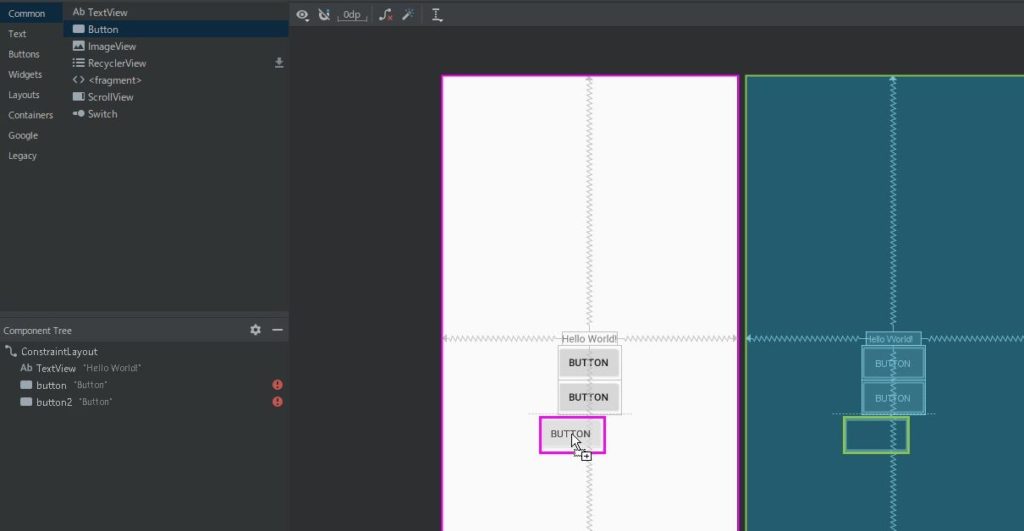
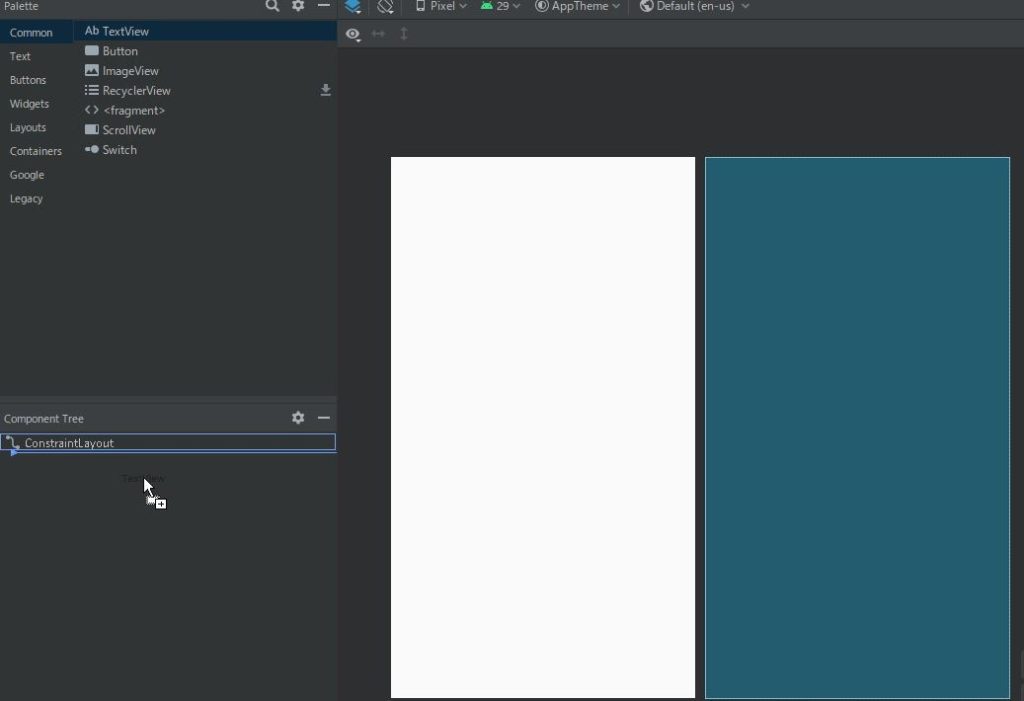
activity_main.xmlを開いたら、上のPaletteタブから下のComponent TreeへtextViewをドラッグアンドドロップすると、テキストが配置されます。
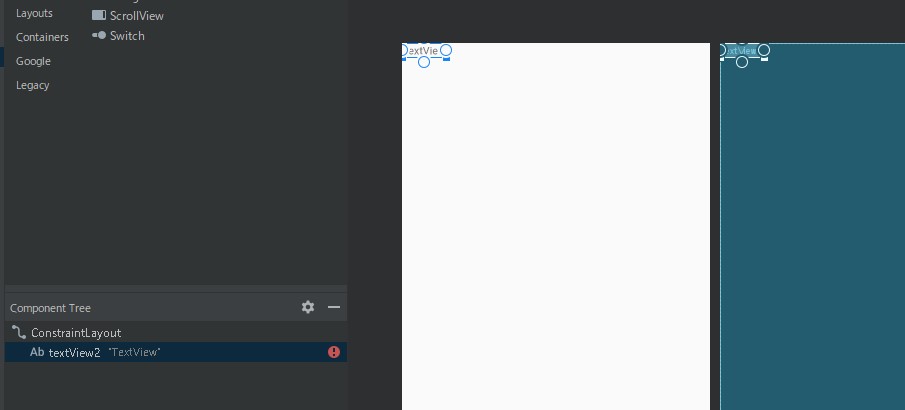
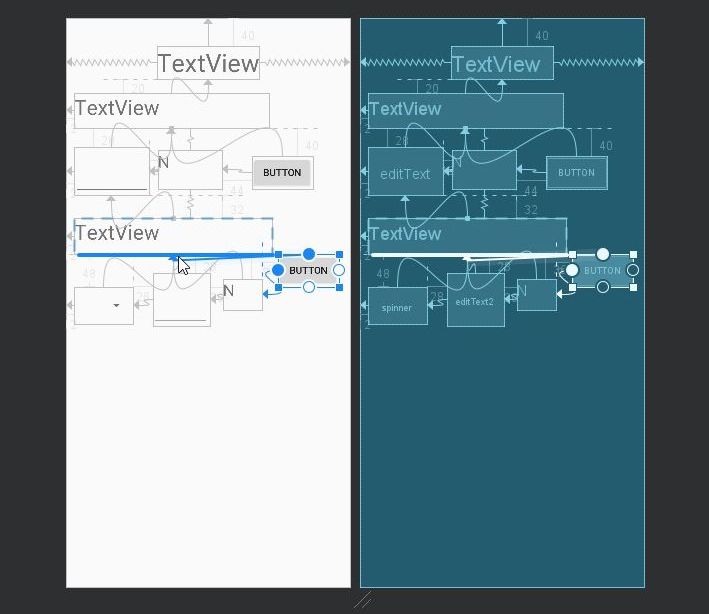
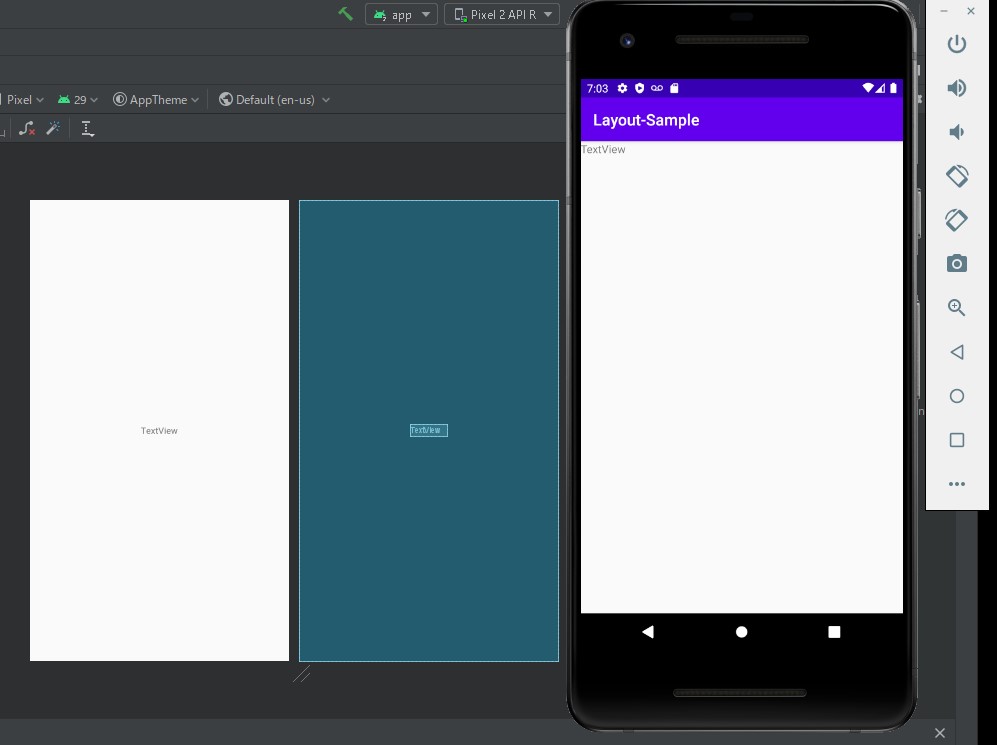
ドラッグアンドドロップでテキストビューを中央に移動すれば、画面の中央に配置されるのでは?と思いましたが、そういうことには、なりません。
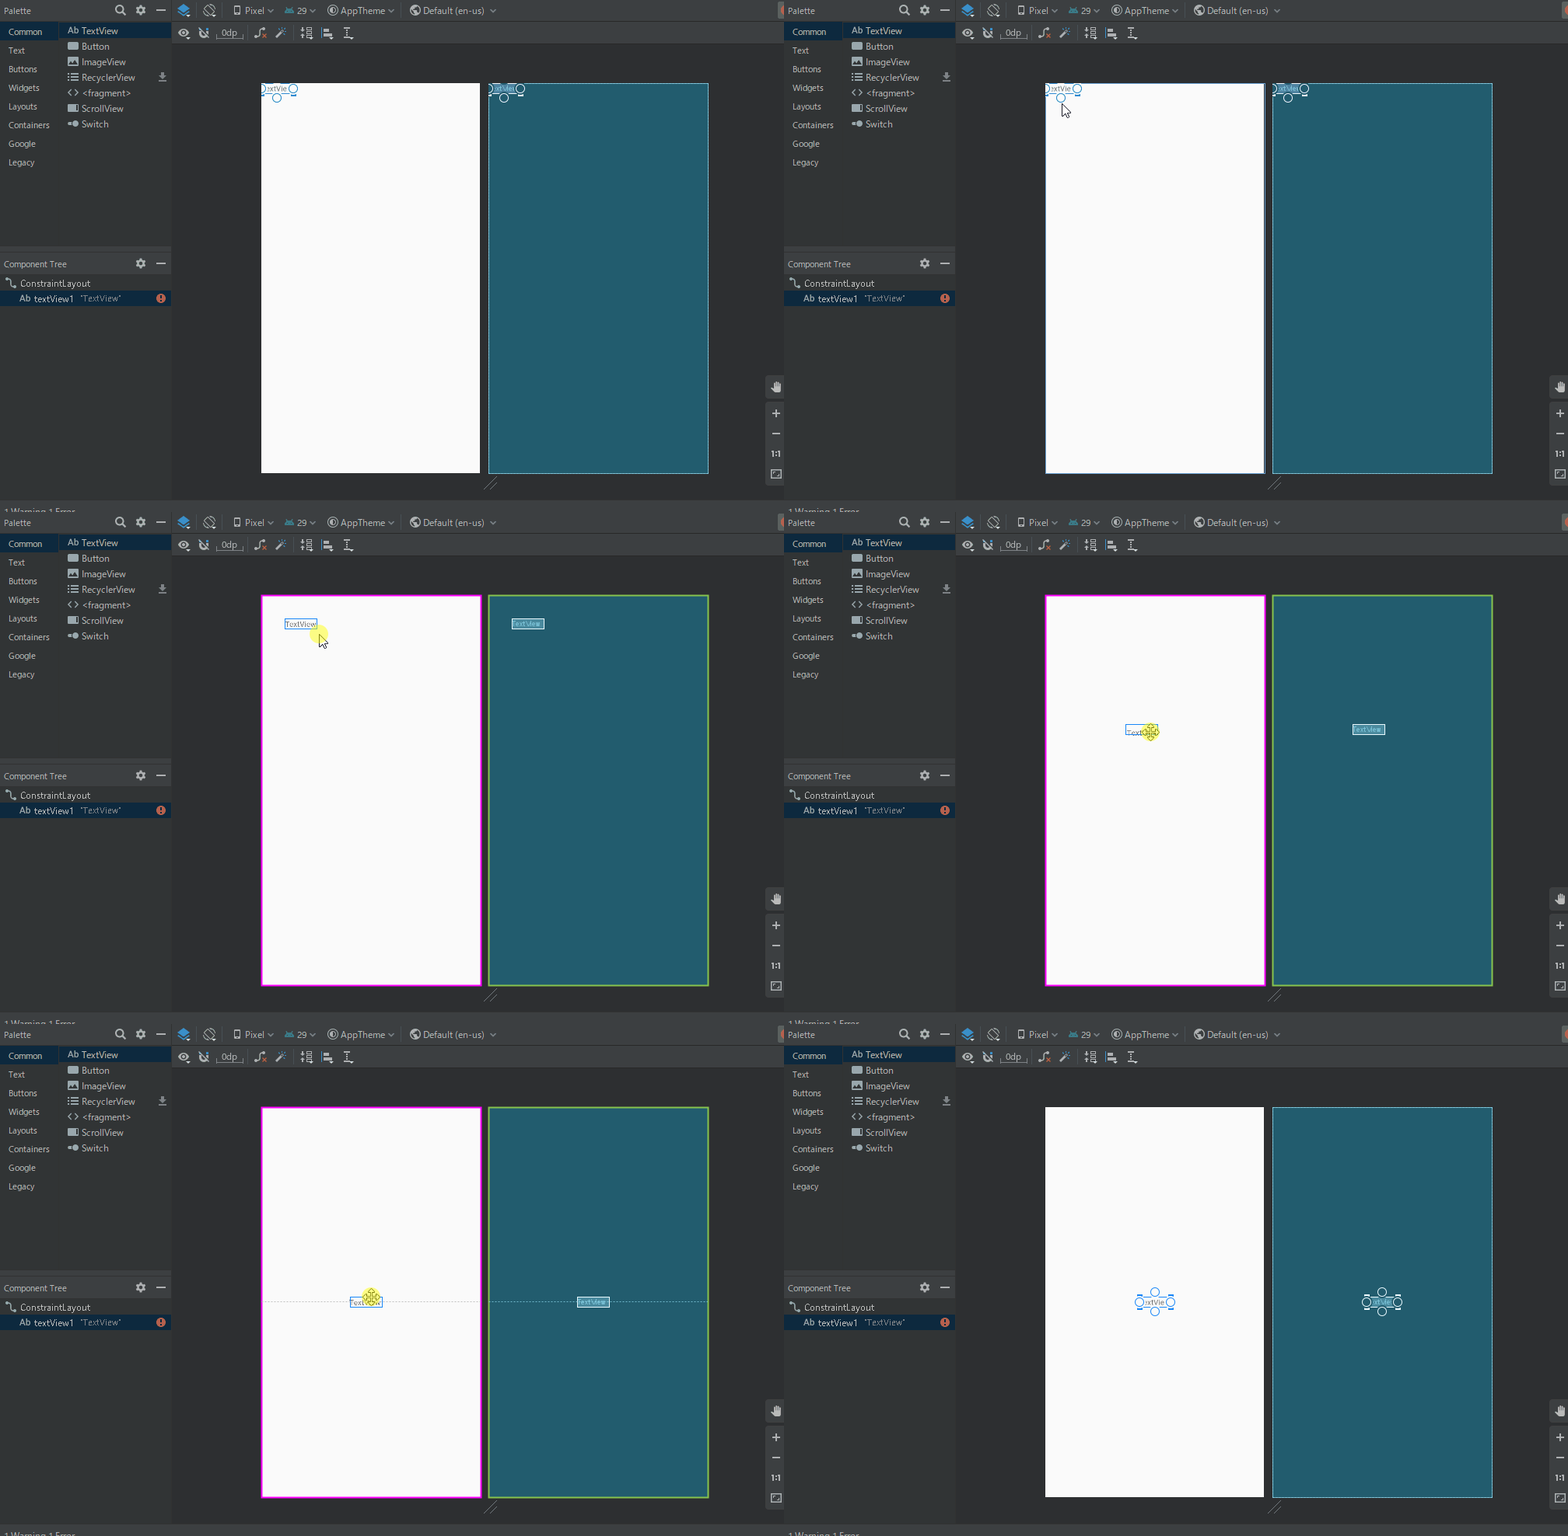
xmlの方では中央に配置されていますが、実機(エミュレーター)では、左上に配置されたままです。
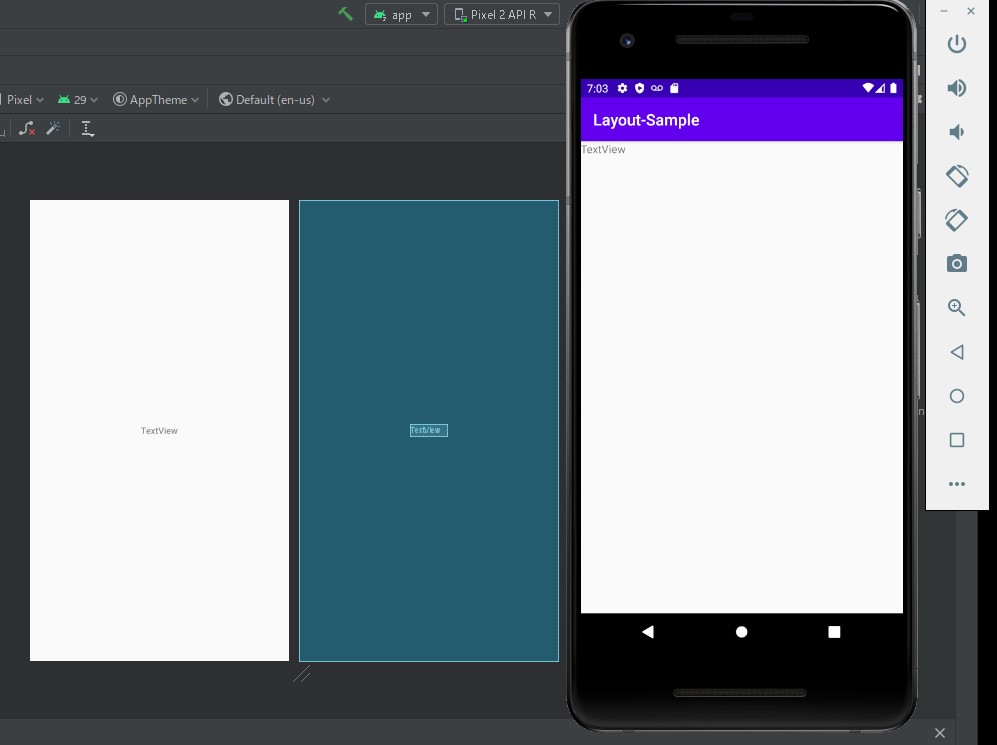
This view is not constrained.
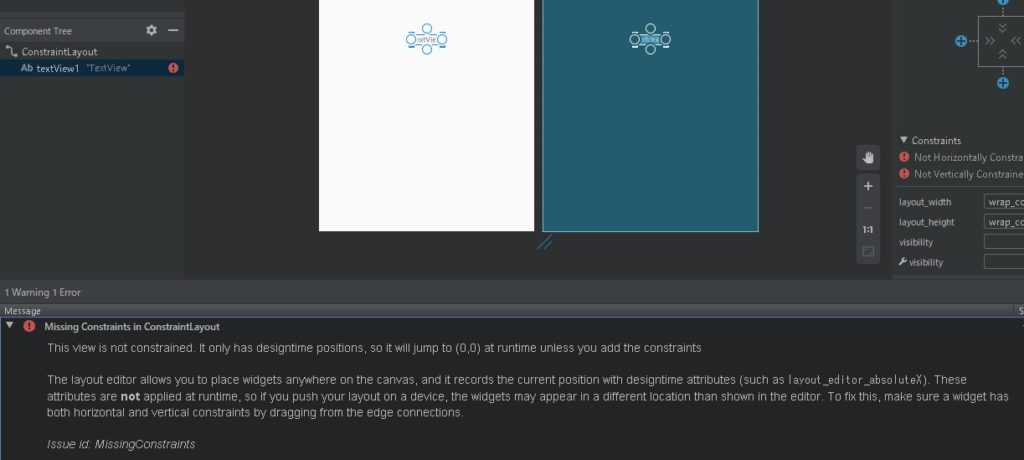
This view is not constrained. It only has designtime positions, so it will jump to (0,0) at runtime unless you add the constraints The layout editor allows you to place widgets anywhere on the canvas, and it records the current position with designtime attributes (such as layout_editor_absoluteX). These attributes are not applied at runtime, so if you push your layout on a device, the widgets may appear in a different location than shown in the editor. To fix this, make sure a widget has both horizontal and vertical constraints by dragging from the edge connections. Issue id: MissingConstraints
このビューは制約されていません。 デザインタイムの位置しか持たないため、制約を追加しない限り、実行時に(0,0)にジャンプします。レイアウトエディターでは、キャンバス上の任意の場所にウィジェットを配置でき、デザインタイム属性(layout_editor_absoluteXなど)で現在の位置を記録します 。 これらの属性は実行時に適用されないため、デバイスにレイアウトをプッシュすると、ウィジェットがエディターに表示される場所とは異なる場所に表示される場合があります。 これを修正するには、エッジ接続からドラッグして、ウィジェットに水平方向と垂直方向の両方の制約があることを確認してください。 問題ID:MissingConstraints
こんな感じで・・・エラーが出ます。
It only has designtime positions, so it will jump to (0,0) at runtime unless you add the constraints
設計時の位置のみがあるため、制約を追加しない限り、実行時に(0,0)にジャンプします。
To fix this, make sure a widget has both horizontal and vertical constraints by dragging from the edge connections.
これを修正するには、エッジ接続からドラッグして、ウィジェットに水平方向と垂直方向の両方の制約があることを確認してください。
水平方向と垂直方向の両方の設定が必要なようです。
layout_constraint
layout_constraintで配置を設定できます。
| 属性 | 効果 | RelativeLayout |
|---|---|---|
| layout_constraintEnd_toStartOf | 指定したViewの左側に配置 | layout_toStartOf |
| layout_constraintStart_toEndOf | 指定したViewの右側に配置 | layout_toEndOf |
| layout_constraintRight_toLeftOf | 指定したViewの左側に配置 | layout_toLeftOf |
| layout_constraintLeft_toRightOf | 指定したViewの右側に配置 | layout_toRightOf |
| layout_constraintBottom_toTopOf | 指定したViewの上側に配置 | layout_above |
| layout_constraintTop_toBottomOf | 指定したViewの下側に配置 | layout_below |
Constrain Parent
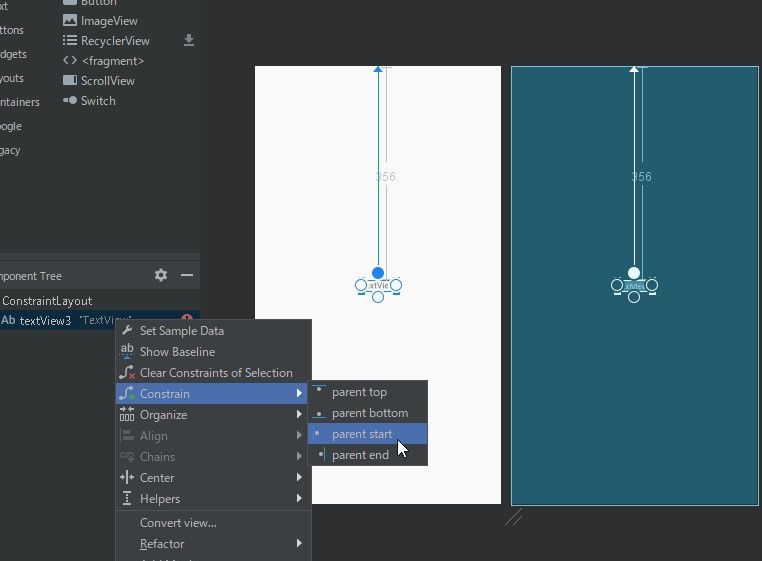
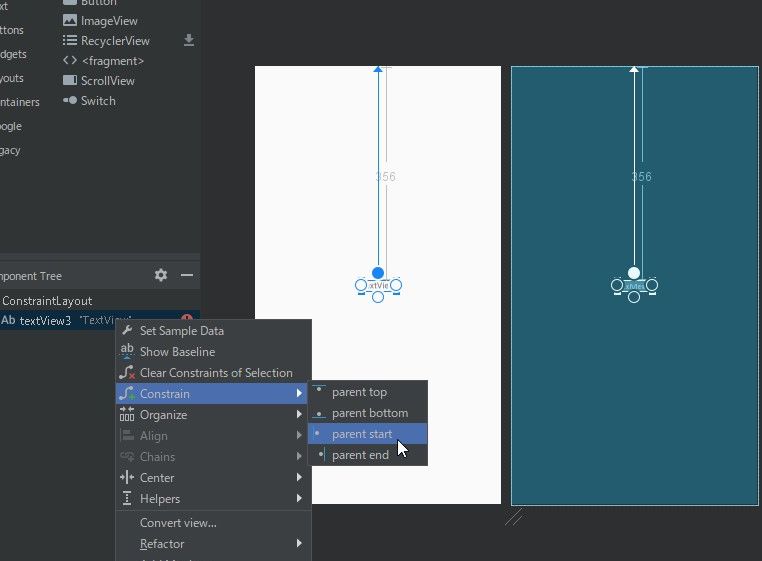
textWiew右クリック>Constrain>parent top&parent start
で上(垂直方向)と左(水平方向)の値をセットします。
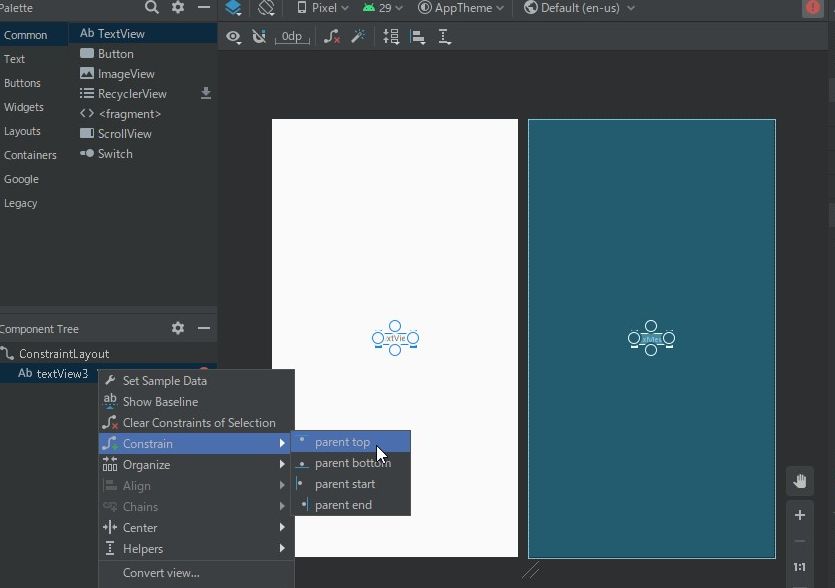
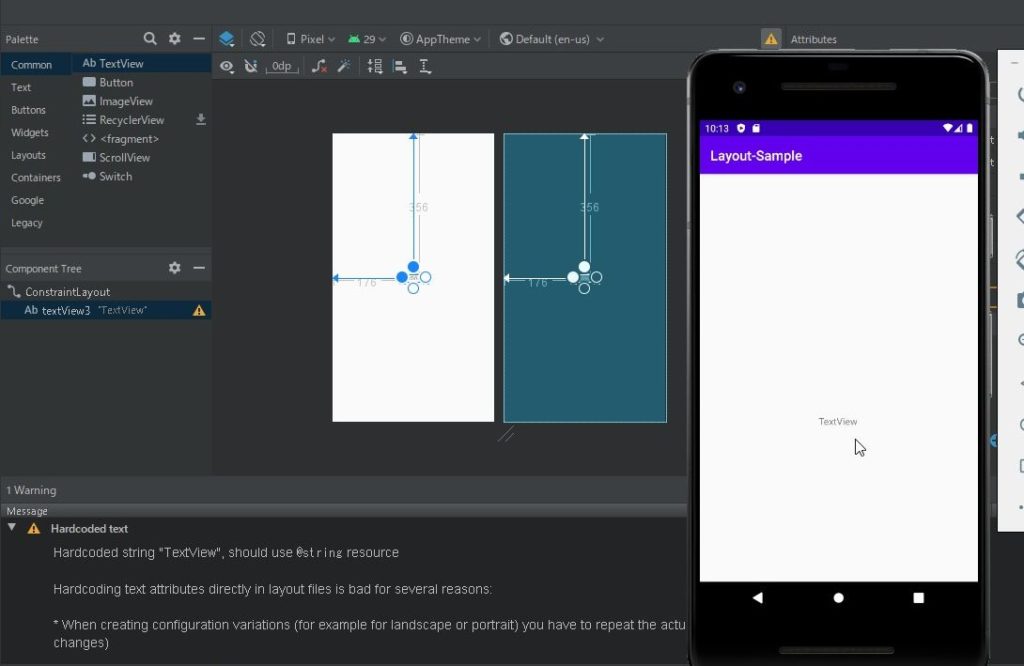
配置できました!が、このままだと数値が直接入っていますので、画面のサイズによって位置がずれてしまいます。
上下左右の中央をセット
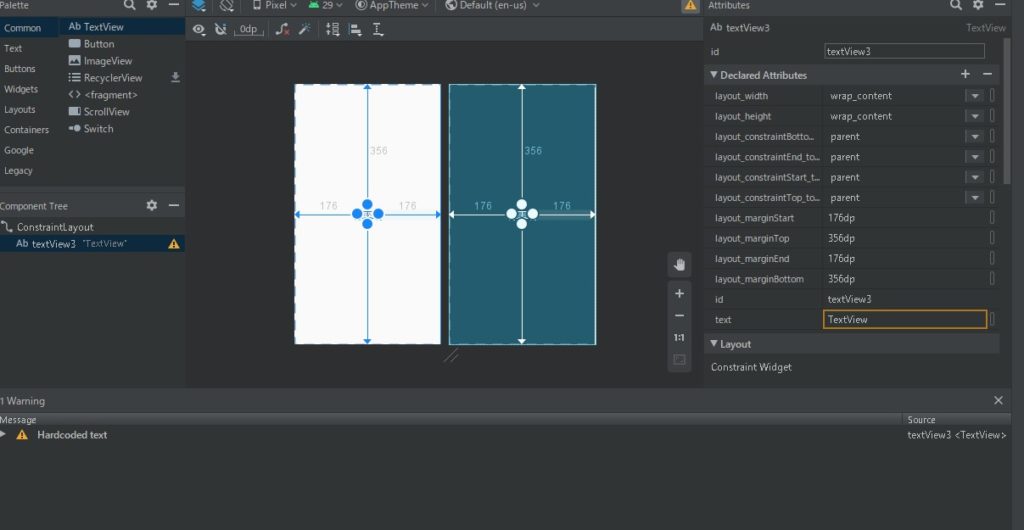
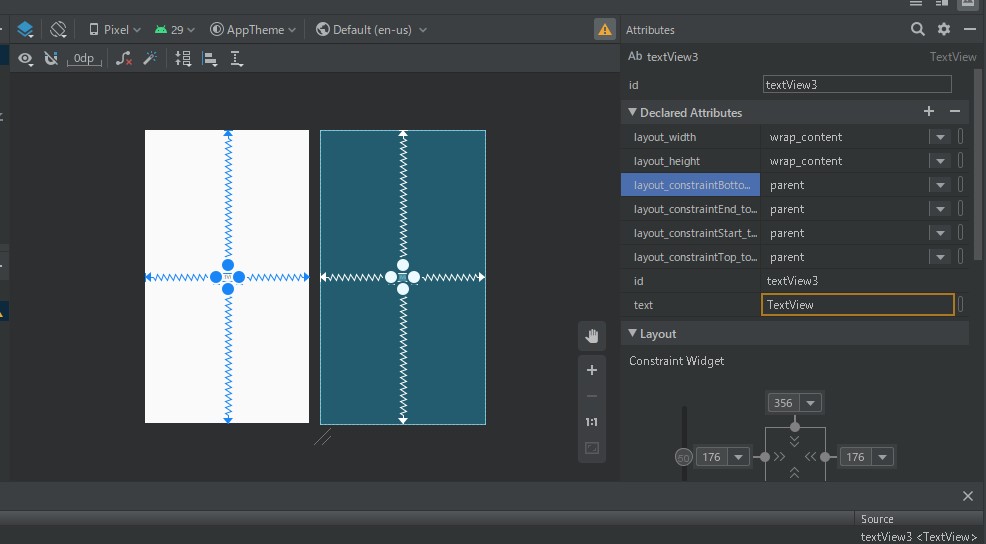
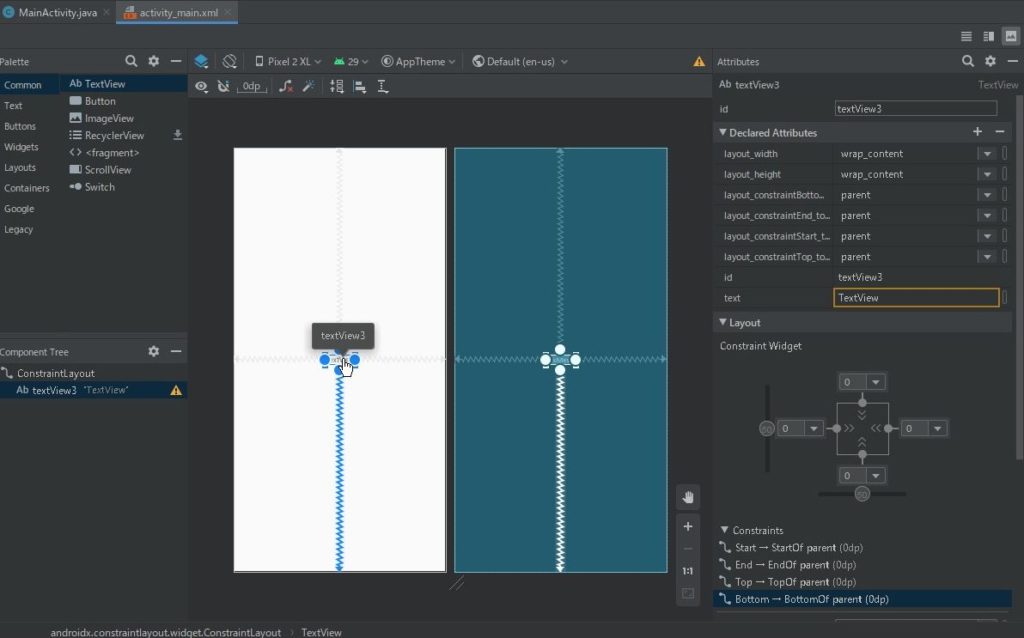
app:layout_constraintBottom_toBottomOf=”parent”
app:layout_constraintEnd_toEndOf=”parent”
app:layout_constraintStart_toStartOf=”parent”
app:layout_constraintTop_toTopOf=”parent”
このように上下左右をparentで配置すると、テキストが中央に配置できます!!
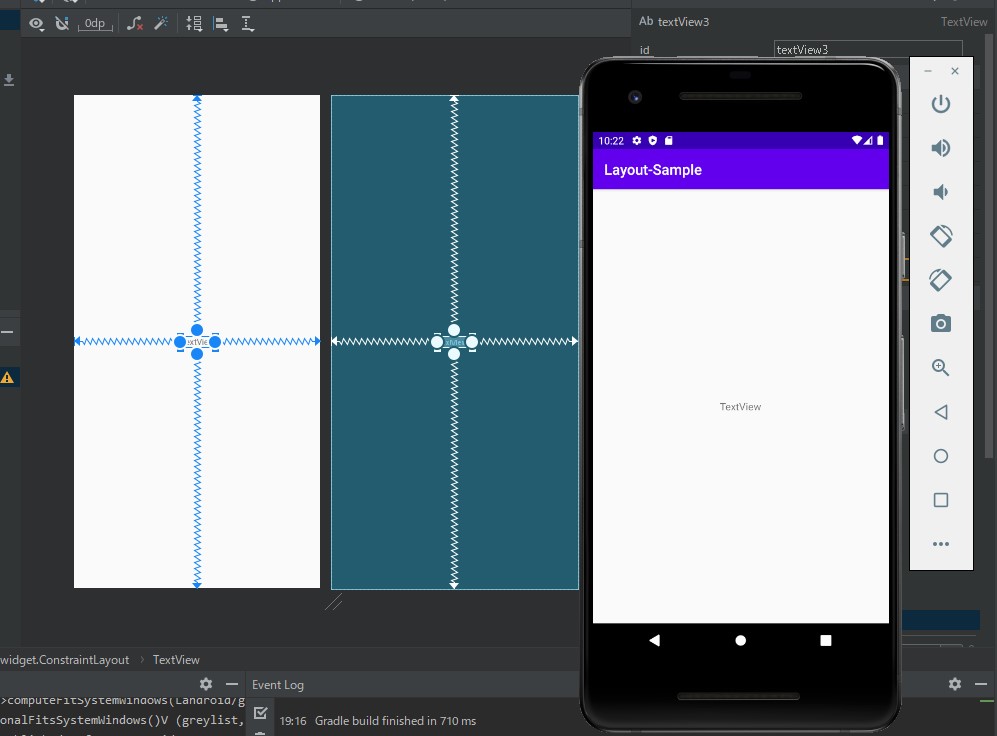
まとめ
テキストひとつ中央に揃えるので…この大変さです。上下左右のparentがひとつでも消えると、いっきに位置がずれます。
layout_constraintTop_toTopOfを削除すると、下にドーンと下がっていきます。
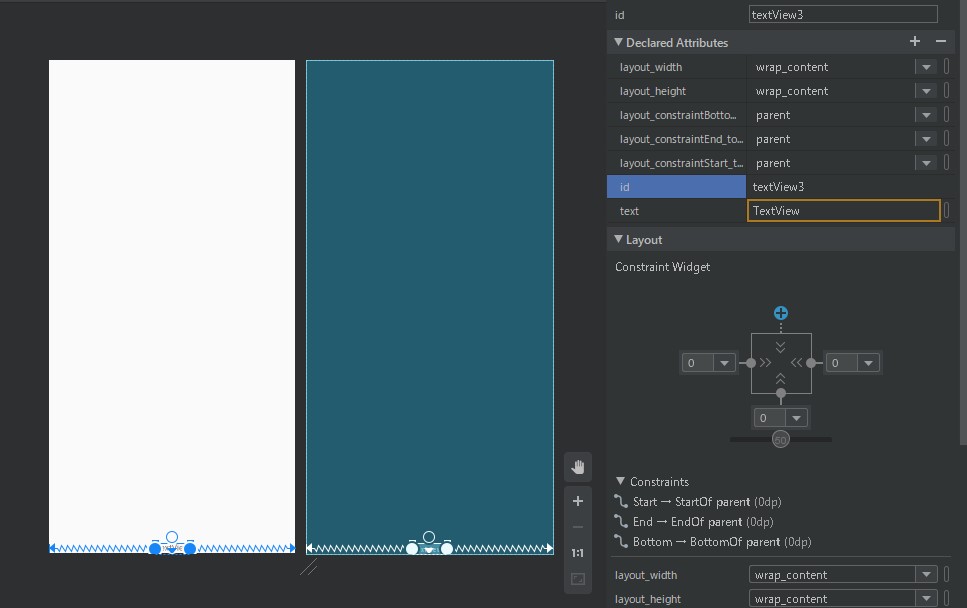
GUIで操作はできますが、パワーポイントやイラストレーターのようにドラッグアンドドロップで並べる・・・という簡単な感じではありません。
この先上手くいくのか心配ですが、ここから、他のボタンや入力テキストを配置していきます!
つづく(^ ^)/

