PWA(Progressive Web App)とFirebase Cloud Messaging(FCM)を使用して、プッシュ通知の仕組みを説明します。
PWA(プログレッシブ Web アプリケーション)の概要
PWAは、ウェブアプリケーションをネイティブアプリのような体験に近づける技術です。ユーザーはウェブブラウザを介してアクセスでき、オフラインで動作することも可能です。
PWAはサービスワーカーと呼ばれる特別なスクリプトを使用して、プッシュ通知などの高度な機能を提供します。
Firebase Cloud Messaging (FCM)とは?
FCMは、Googleが提供するクラウドベースのプッシュ通知サービスで、モバイルアプリケーションやウェブアプリケーションにプッシュ通知を送信するために使用されます。
FCMはセキュアでスケーラブルなプッシュ通知の仕組みを提供し、PWAでも利用できます。
PWAとFCMを組み合わせたプッシュ通知の仕組み
プッシュ通知の仕組みは以下のステップで構築されます。
順番に見ていきます。
Firebase プロジェクトの設定
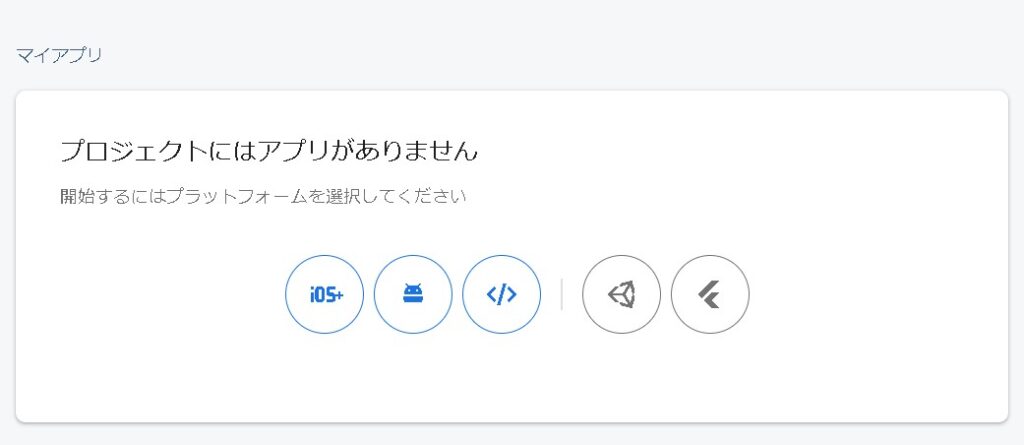
Firebaseコンソールでプロジェクトを作成または選択します。プロジェクトの設定(APIキー、プロジェクトIDなど)を取得します。

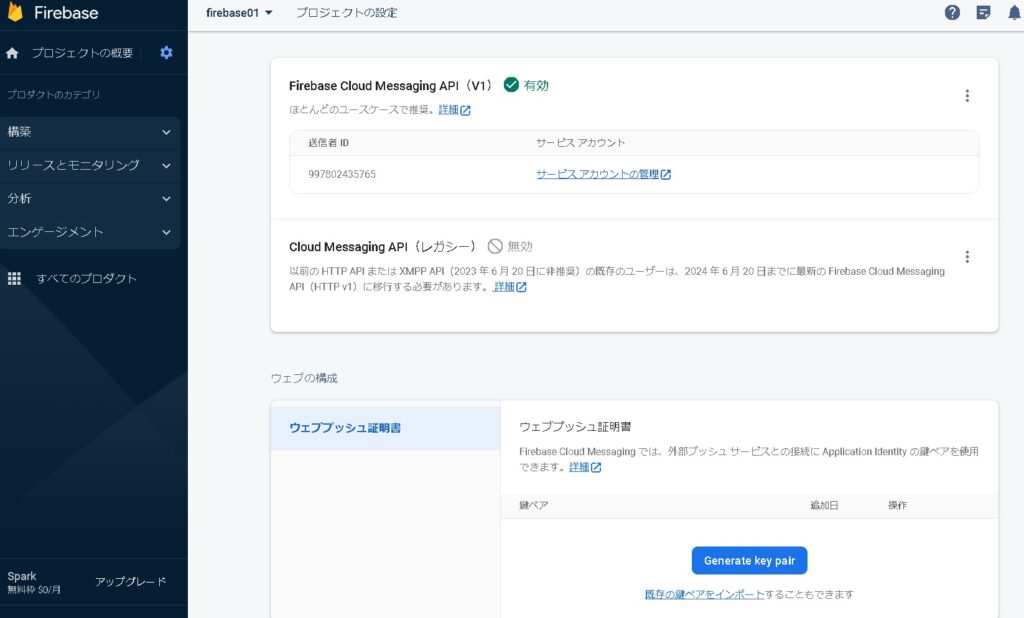
ウェブプッシュ証明書から「鍵ペア(証明書)」を生成しておきましょう。

Firebase SDK の統合
Firebase JavaScript SDKをウェブアプリに統合します。これにより、ウェブアプリケーションからFirebaseサービスを利用できるようになります。
<script type="module">
  //FCMのSDKインポート
  import { initializeApp } from "https://www.gstatic.com/firebasejs/9.1.0/firebase-app.js";
  import { getAnalytics } from "https://www.gstatic.com/firebasejs/9.1.0/firebase-analytics.js";
  import { getMessaging, getToken } from "https://www.gstatic.com/firebasejs/9.1.0/firebase-messaging.js";

//firebaseConfigを設定する
  const firebaseConfig = {
    apiKey: "xxxxxxxxxxxxxxxxxxxxxxxxxxxxxxxxxxxx",
    authDomain: "pwa-test-xxxxx.firebaseapp.com",
    projectId: "pwa-test-xxxxx",
    storageBucket: "pwa-test-xxxxx.appspot.com",
    messagingSenderId: "xxxxxxxxx",
    appId: "1:xxxxxxxxxxxx:web:xxxxxxxxxxxxxxxxxxxx",
    measurementId: "xxxxxxxxxx"
  };

  // Firebaseを初期化
  const app = initializeApp(firebaseConfig);
  const analytics = getAnalytics(app);

  // FCMをテストする
  function push_test() {
    const messaging = getMessaging();

    navigator.serviceWorker.register('firebase-messaging-sw.js').then(registration => {
      getToken(messaging, {
        vapidKey: 'xxx', //証明書キー
        serviceWorkerRegistration: registration
      }).then((currentToken) => {
        console.debug('token:' + currentToken);
        if (currentToken) {

        } else {
          console.log('No registration token available. Request permission to generate one.');
        }
      }).catch((err) => {
        console.log('An error occurred while retrieving token. ', err);
      });
    }).catch(err => {
      console.log('ServiceWorker registration failed.');
    });
  }

  document.getElementById('pwa').onclick = push_test;
</script>
サービスワーカーを準備する
予め準備しておいたfirebase-messaging-sw.jsファイルにコードを設定します。
importScripts('https://www.gstatic.com/firebasejs/9.1.0/firebase-app-compat.js');
importScripts('https://www.gstatic.com/firebasejs/9.1.0/firebase-messaging-compat.js');

firebase.initializeApp({
  apiKey: "AIzaSyDuM86KL1JwcrHD7_x7m6pdDNWoEoGR_g0",
  authDomain: "fir-01-cbdcd.firebaseapp.com",
  projectId: "fir-01-cbdcd",
  storageBucket: "fir-01-cbdcd.appspot.com",
  messagingSenderId: "997802435765",
  appId: "1:997802435765:web:d247cbace344aa4c318afc",
  measurementId: "G-CPGD7354MZ"
});

const messaging = firebase.messaging();

messaging.onBackgroundMessage(function (payload) {
    console.log('[BG] Received background message ', payload);
    const notificationTitle = payload.data.title;
    const notificationOptions = {
        body: payload.data.message,
        tag: payload.data.tag,
        icon: 'logo.png',
        badge: 'badge.png',
        image: 'image.png',
        vibrate: [300, 100, 100, 100, 300],
        actions: [{
            action: 'actionA',
            title: 'ActionA'
        },
        {
            action: 'actionB',
            title: 'ActionB2'
        }
        ]
    };

    self.registration.showNotification(notificationTitle,
        notificationOptions);
});
プッシュ通知の許可
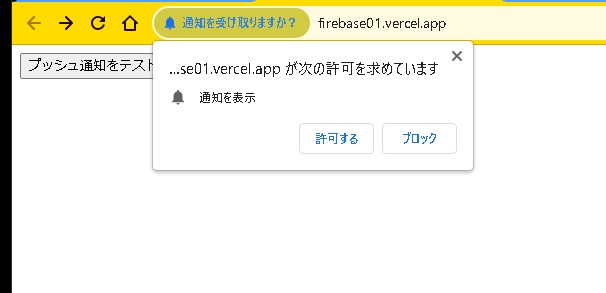
ユーザーがプッシュ通知を許可するように求めます。通常、ブラウザのダイアログボックスを表示して許可をリクエストします。


トークンの取得
ユーザーが許可した場合、ウェブアプリはFirebaseからデバイストークンを取得します。このトークンは特定のデバイスを識別するために使用されます。
プッシュ通知の送信
サーバーサイドのアプリケーションまたはFirebaseコンソールから、特定のトークンに対してプッシュ通知を送信します。
プッシュ通知の受信と表示
サービスワーカー(PWAの一部)がプッシュ通知を受信し、デバイス上に通知を表示します。
注意事項
プッシュ通知を送信するためには、適切なセキュリティ対策とトークン管理が必要です。
サービスワーカーとウェブアプリのコードにエラーハンドリングとセキュリティ機能を組み込むことが重要です。
まとめ
以上がPWAとFirebase FCMを使用したプッシュ通知の基本的な仕組みです。ウェブアプリとして高度な通知機能を提供するために、詳細な設定とカスタマイズが可能です。


